
- This guide will walk you through connecting and using your QuickBooks account with Bankful
- Connecting QuickBooks will allow you to view and organize your Bankful transaction history
- If you do not yet have a Bankful account, please visit https://bankful.com/ to sign up!
- If you need QuickBooks, please visit https://quickbooks.intuit.com/
Sections
Connecting QuickBooks
- Login into https://paybybankful.com/
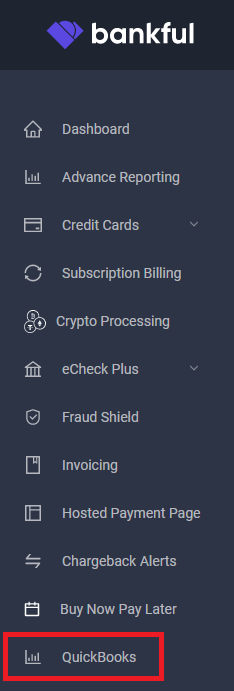
- Once you reach the dashboard, at the bottom of the left hand toolbar, click QuickBooks
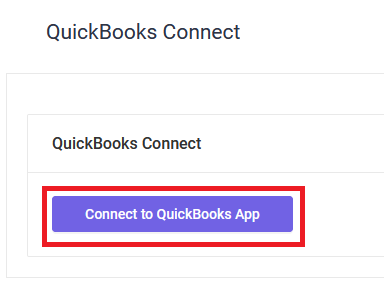
- Click Connect to QuickBooks App
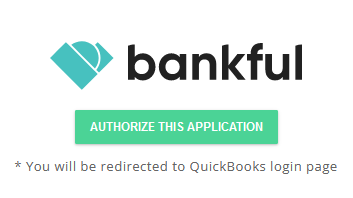
- Click Authorize This Application
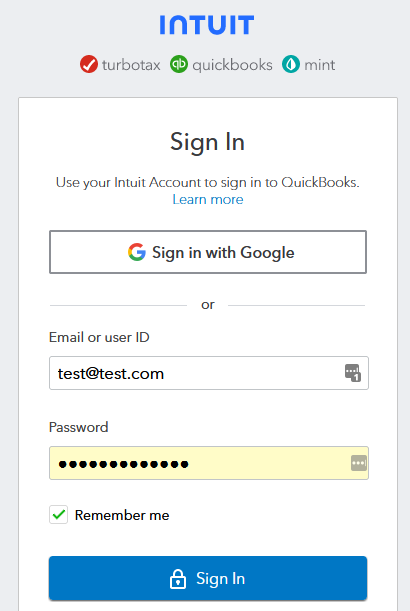
- Log into Intuit/QuickBooks
- Click Sign In
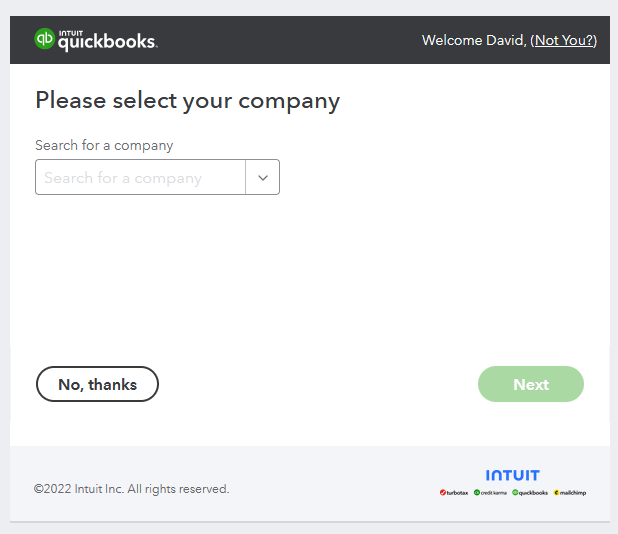
- Select the company or account you want to use from the drop-down.
- Then click Next
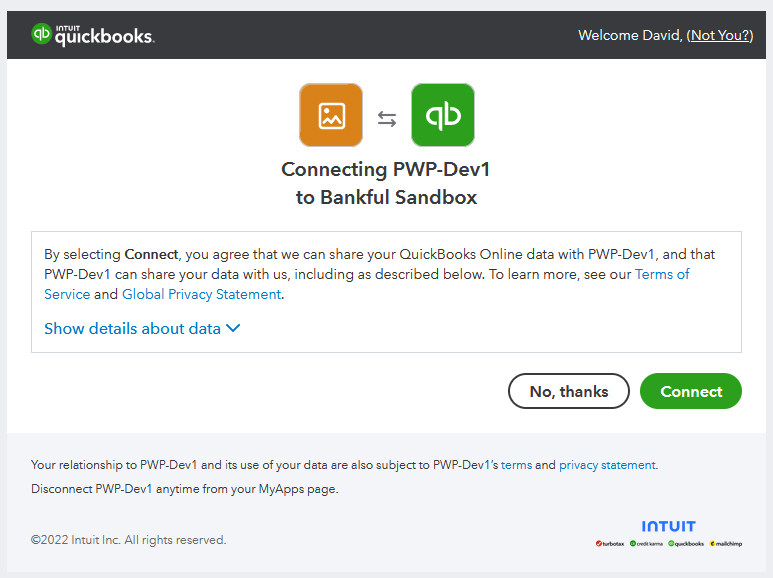
- Click Connect
- Click on Continue To Complete The Process
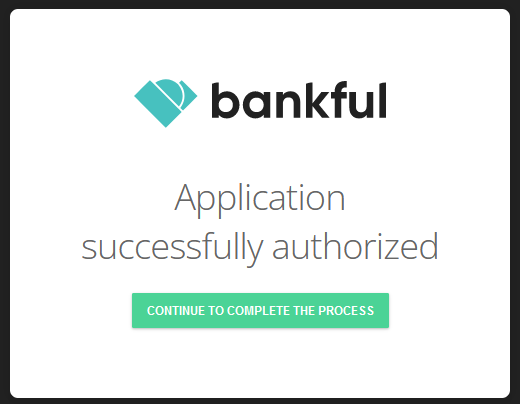
- You will then be redirected back to Bankful
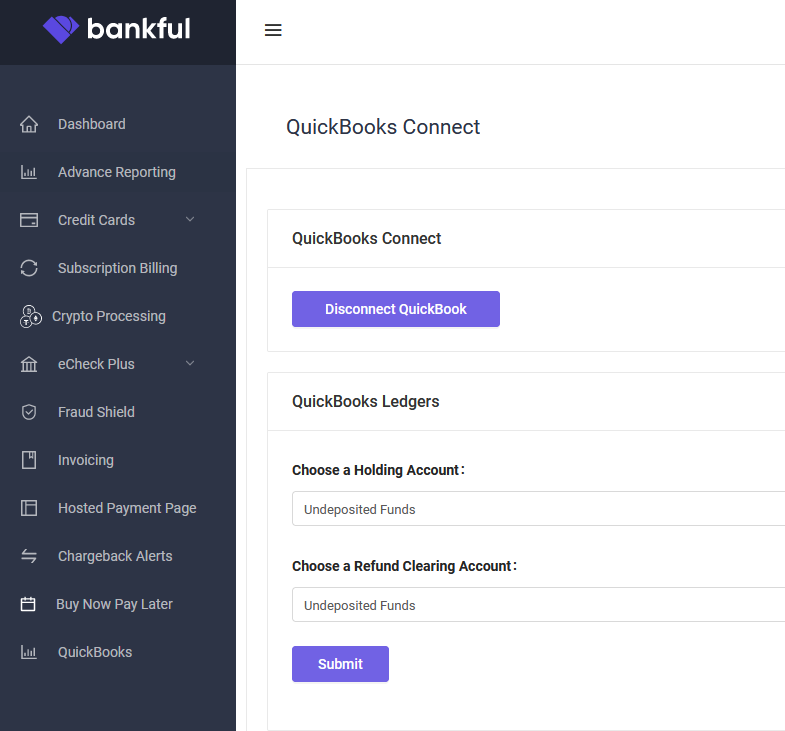
- Back in the QuickBooks tab, you will now select from the drop-downs your:
- Holding Account
- The account within QuickBooks that your approved sales transactions are recorded under
- Refund Clearing Account
- The account within QuickBooks that your approved refund transactions are recorded under
- Holding Account
- Select them and click Submit
- Upon Submitting, you will see Successfully saved! Appear at the top of your screen

Transactions In QuickBooks
- Log into QuickBooks
- On the left hand tool-bar, click Sales
- Here you will your transaction history that has been synced over from Bankful
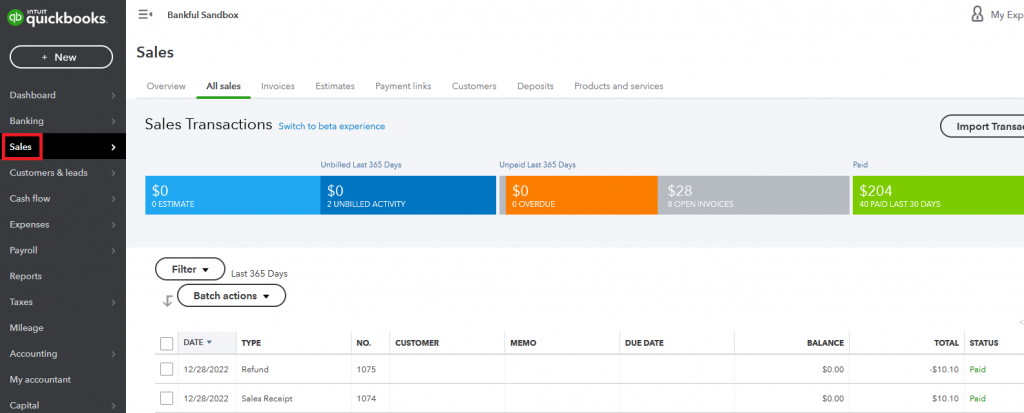
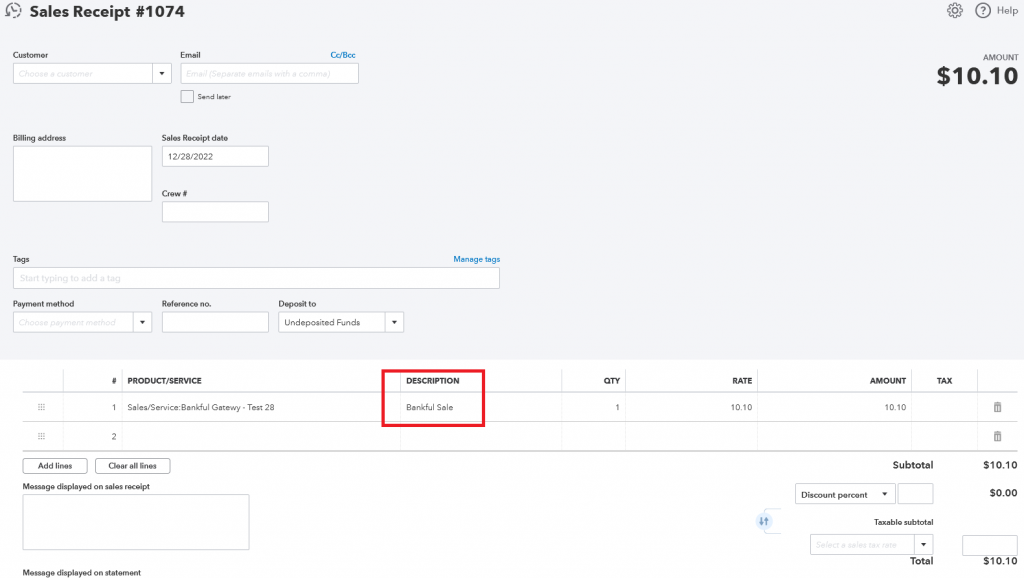
- You can click on the individual transactions on this page to get more details.
- Bankful approved transactions will have a description of Bankful Sale
- Bankful approved refunds will say Bankful Refund

Notes
- The transaction history recorded within Bankful and sent to QuickBooks are customer transactions that were sent through Bankful and then ultimately over to your Processing Bank. They are not a history of your payouts or fund deposits.
- Bankful will never hold funds or issue payouts, we will only charge you our monthly Bankful gateway fees. Funds and payments will be sent by your Processing Bank: Typically, payouts are sent by your processor in batches every 2-3 business days.
- For help utilizing QuickBooks, please see the Intuit QuickBooks Support Page
- For any further questions, please reach out to us at Support@Bankful.com