Setting Up Your WooCommerce Store for Subscription Billing
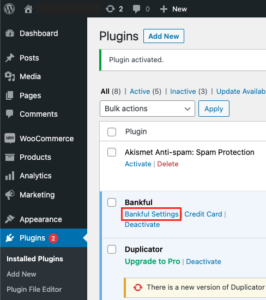
- Log into your WooCommerce store to add the Bankful Plugin
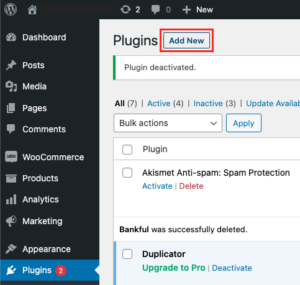
- Select Plugins → “Add New”
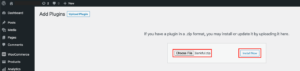
- Click “Upload Plugin”
- Choose the extension zip file you downloaded during checkout and click “Install Now”
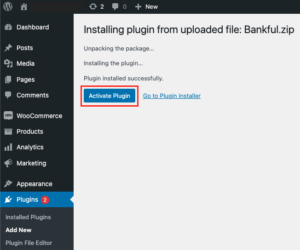
- Activate the Plugin
- Click “Bankful Settings”
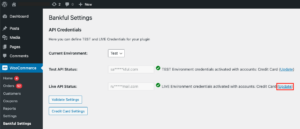
- Click “Update” on the Live API Status line
- Enter your Bankful credentials and click “Validate Settings” to connect the installation.
- LIVE API Username = Bankful Username
- LIVE API Password = Bankful Password
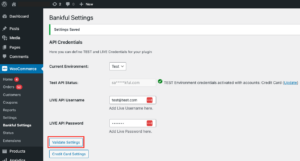
- You are still in “Test Mode” and can perform a test transaction if you wish. If you are satisfied with testing, click the dropdown menu and select “Live”
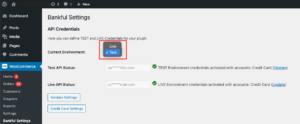
- After saving the credentials go to “Bankful Settings Page” to activate subscription billing.
- Check “Recurring Enabled,” click “Get and Save” button. On success you would see a Site ID generated in the Site ID field.
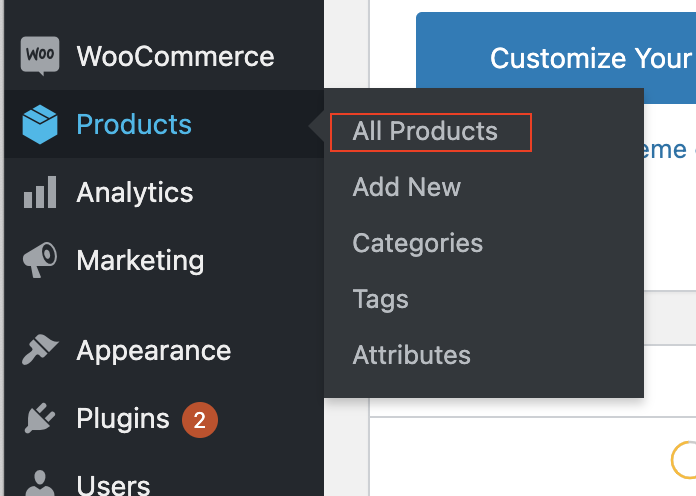
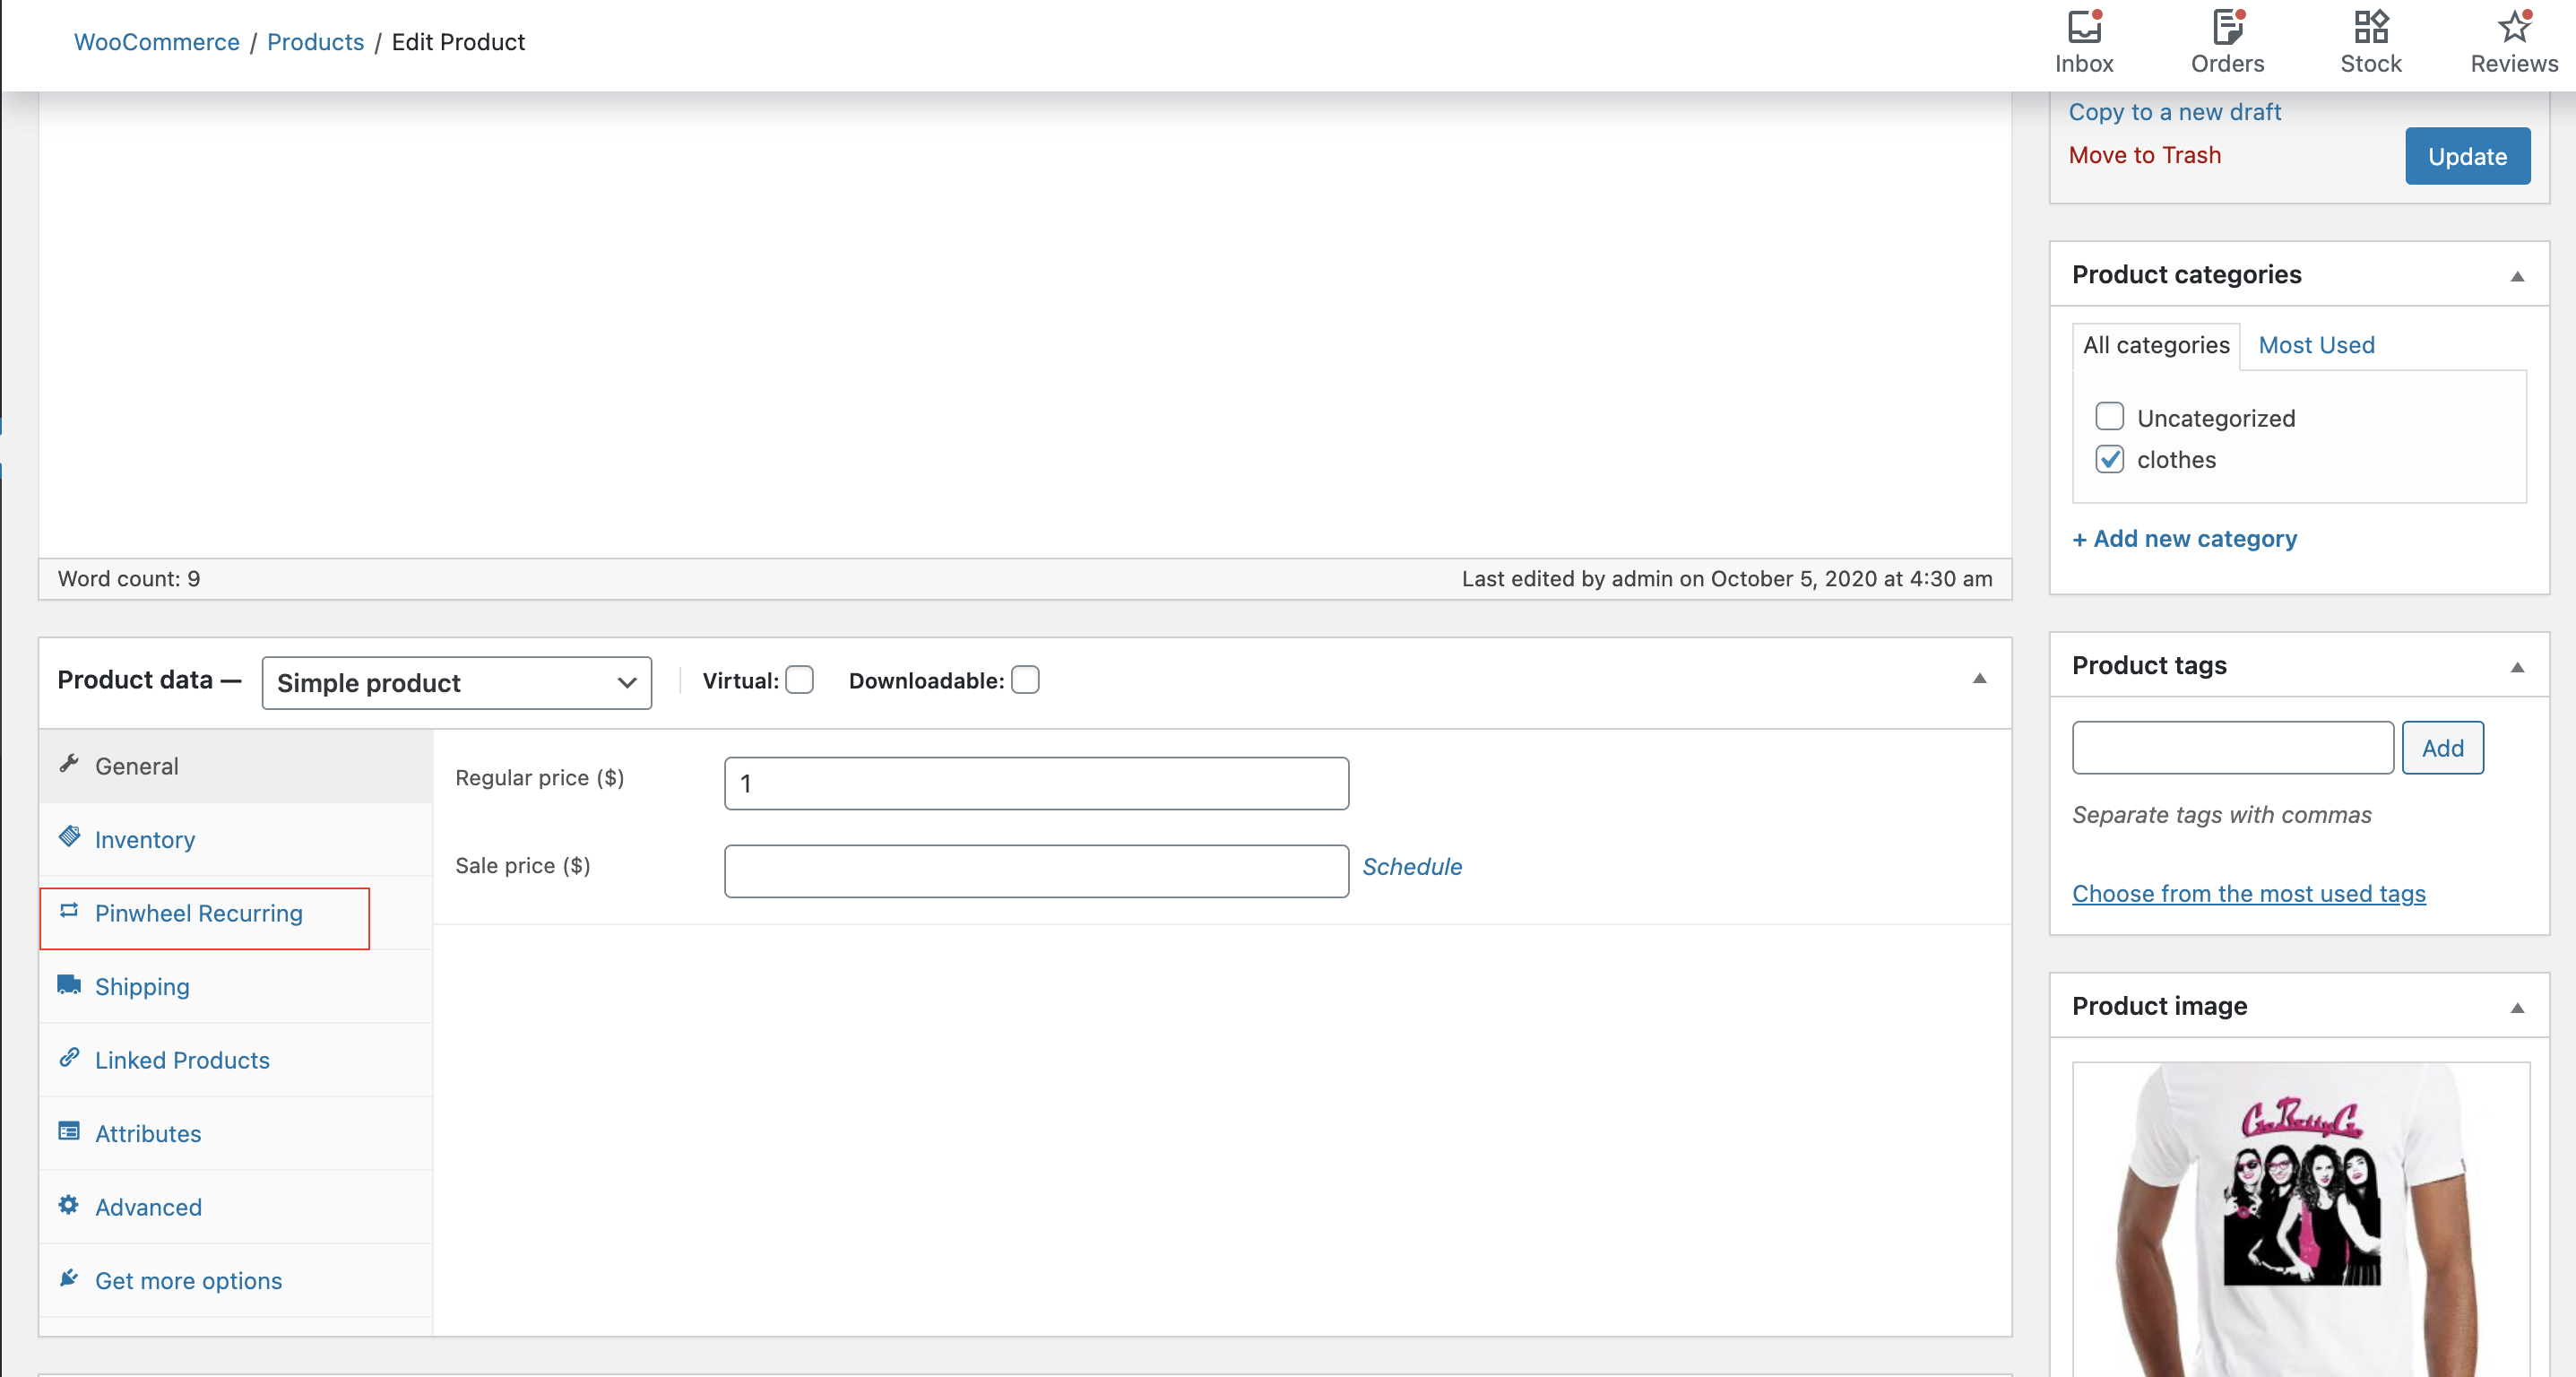
- Once the gateway setup is done go to “Products” and tag products that you want to offer as subscription.
- Select the product you want to offer as a subscription.
- On the “Product data” section click Enable Recurring and hit save. Every time a product is saved, the info is synced to Bankful.


We strongly advise setting the Customer Email and Customer Phone Number fields to mandatory within Woo. This will help your processing bank verify transactions and help with future chargeback disputes.
Managing Recurring Payments in Bankful
- Log into your Bankful Portal to view the products that you chose from your WooCommerce store
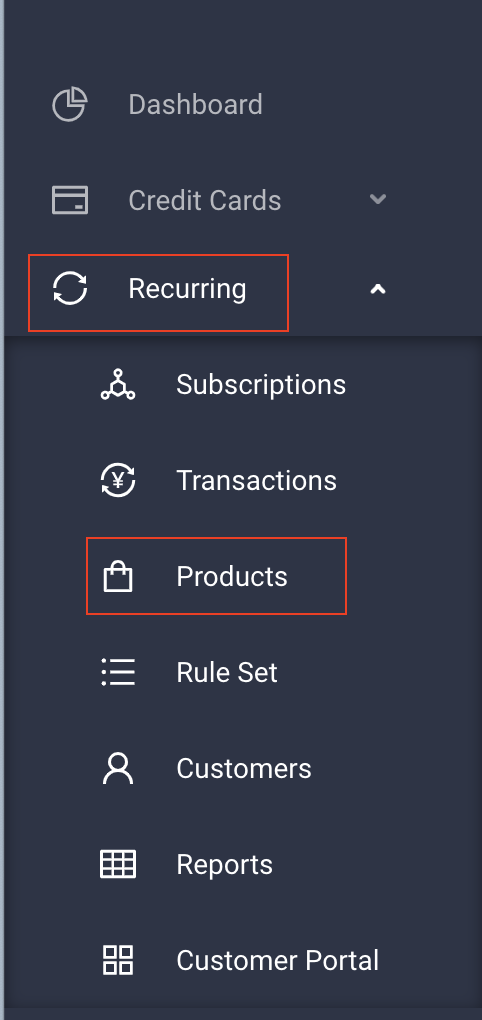
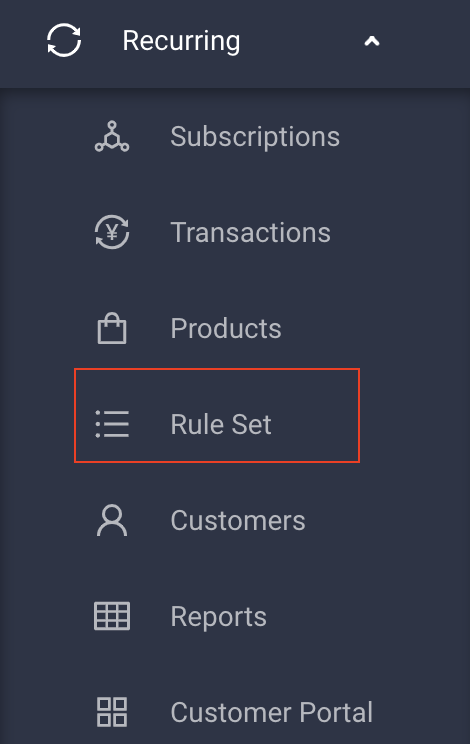
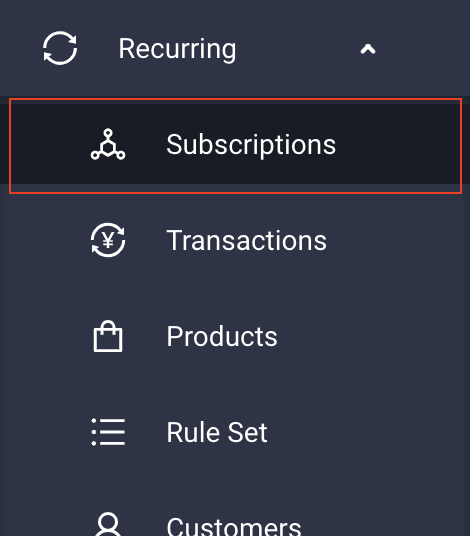
- Click on “Recurring” in the sidebar menu and then click “Products”
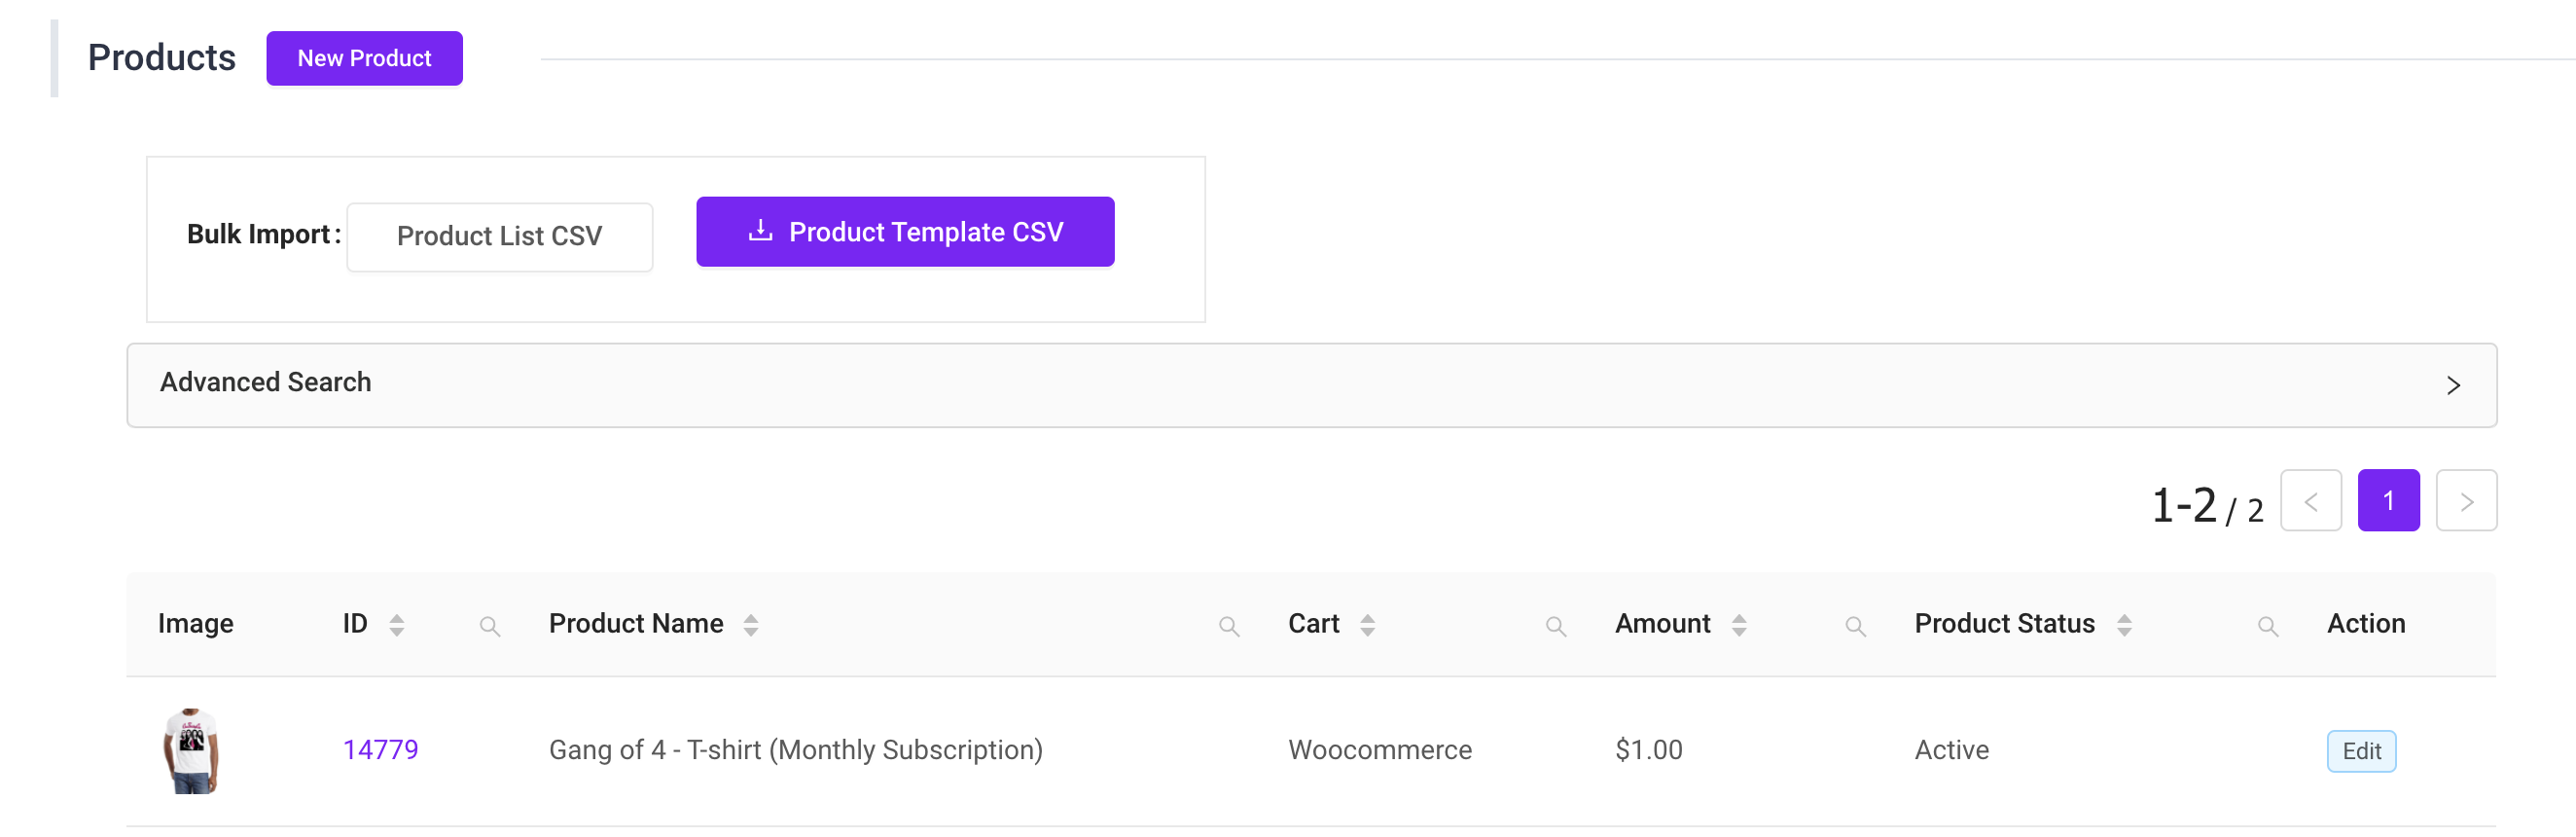
- You will see the products that you synchronized with your WooCommerce store
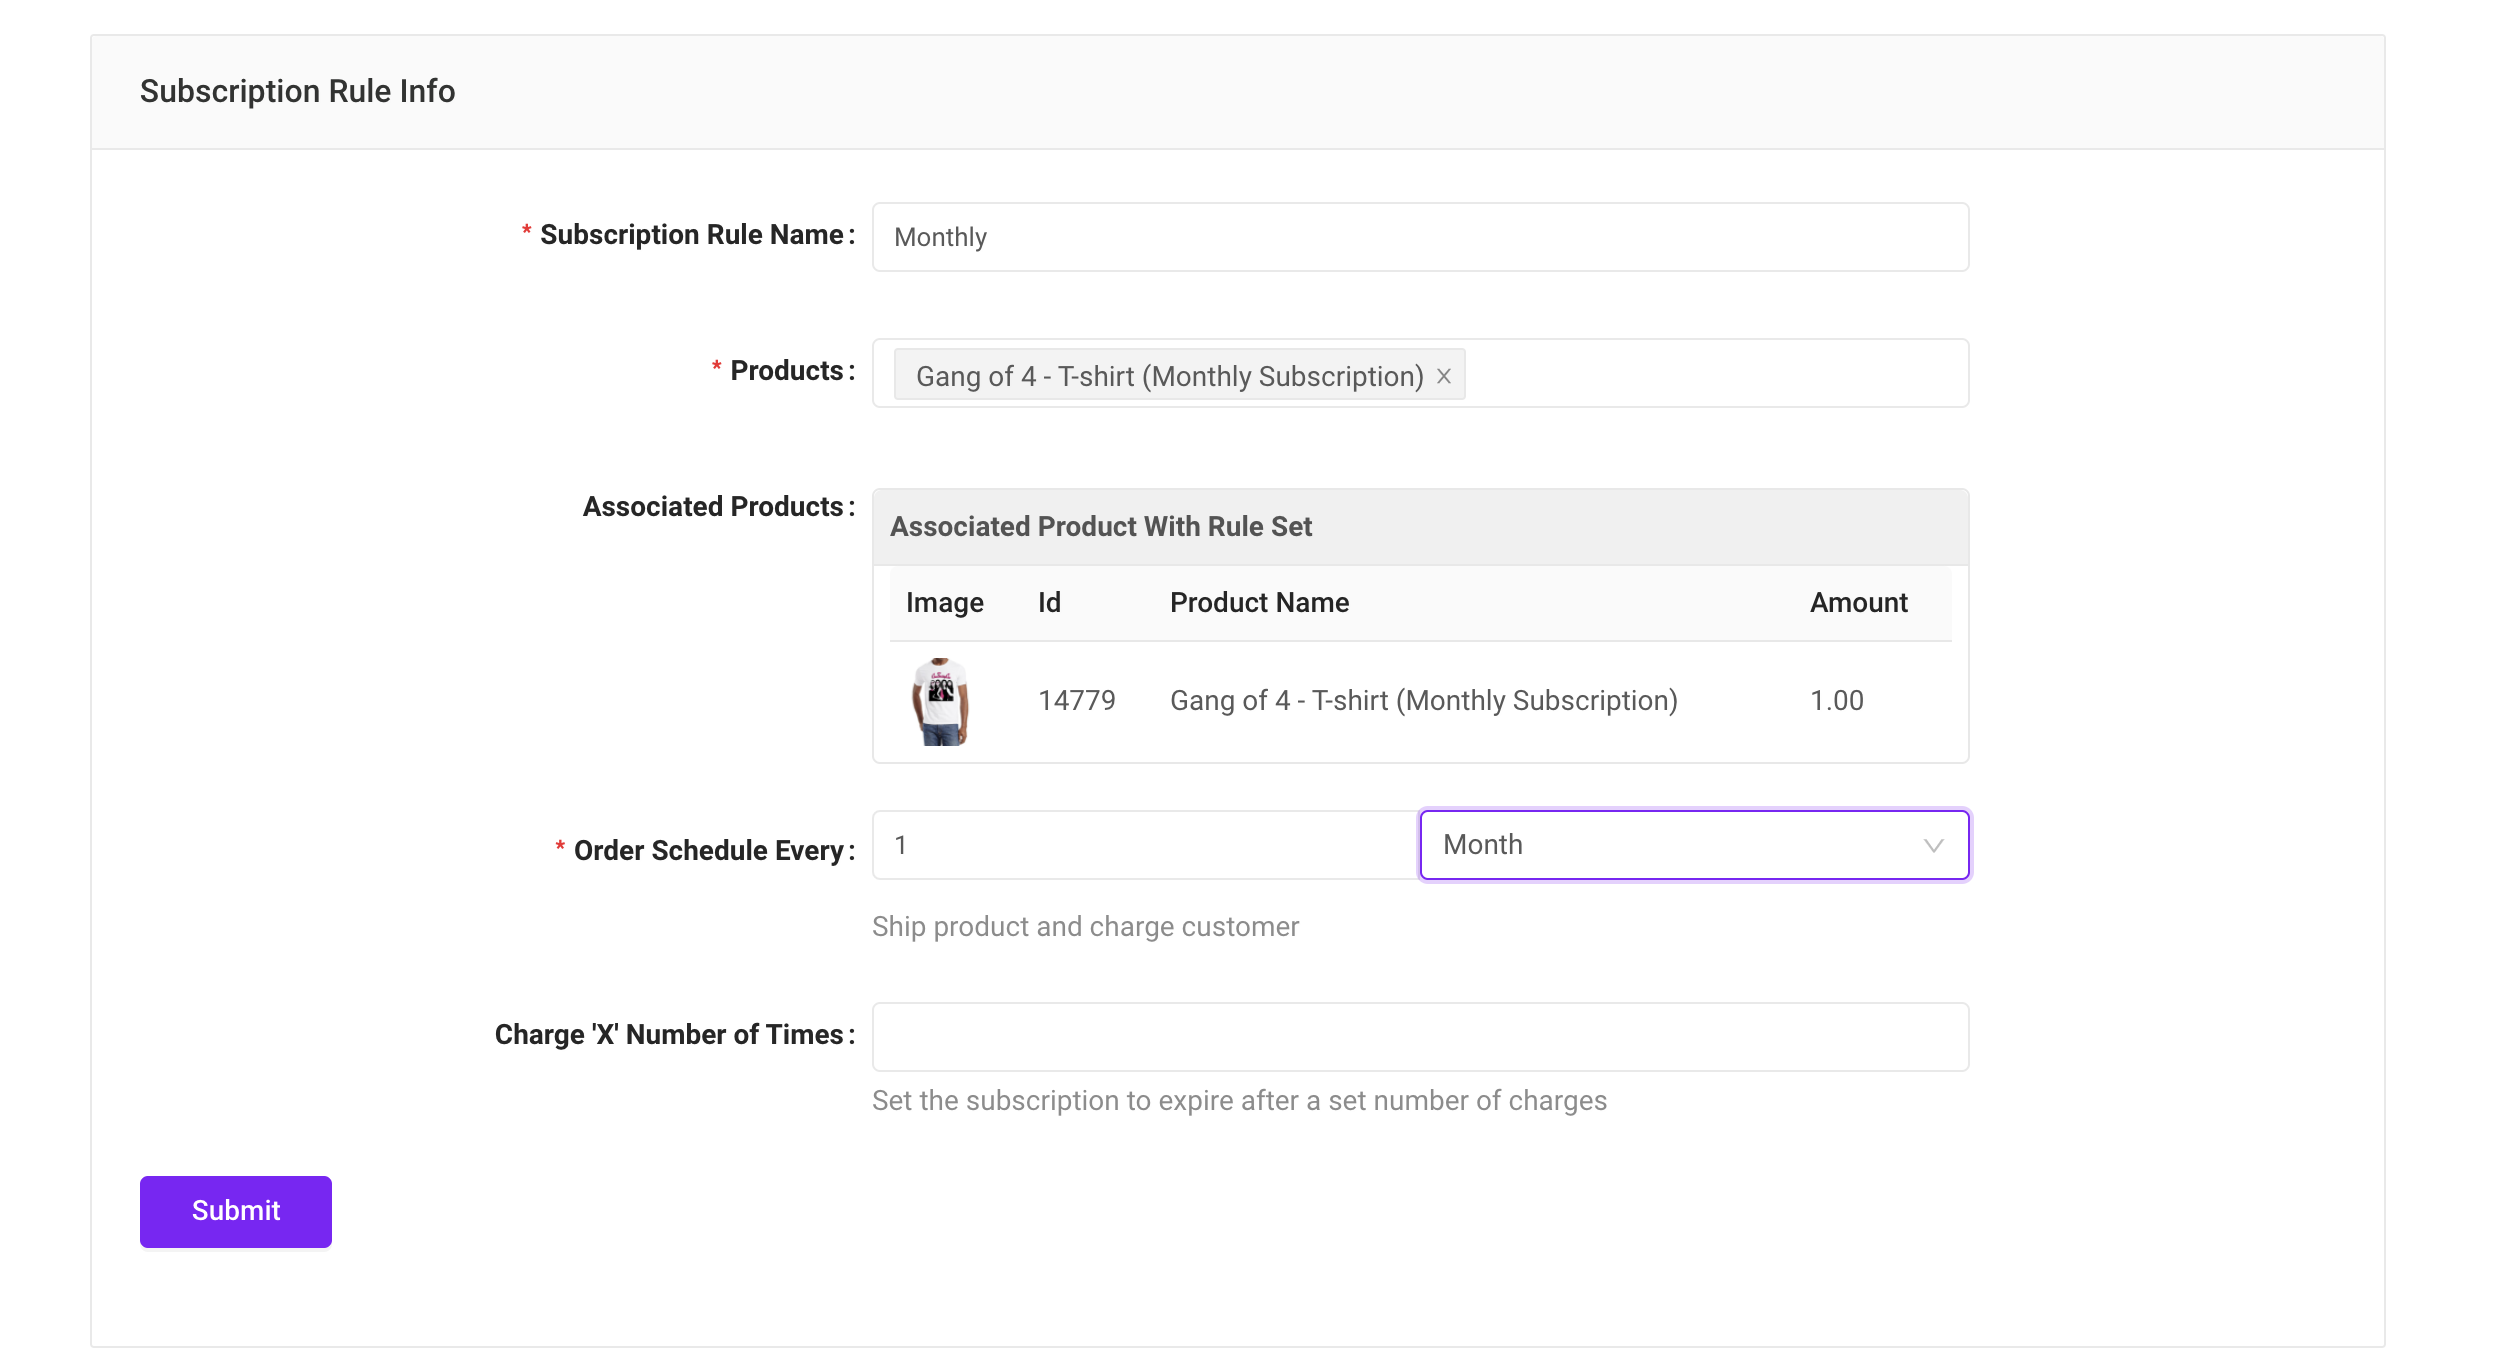
- Each product will need to be associated with a “Rule Set”
- Create a “New Subscription Rule”
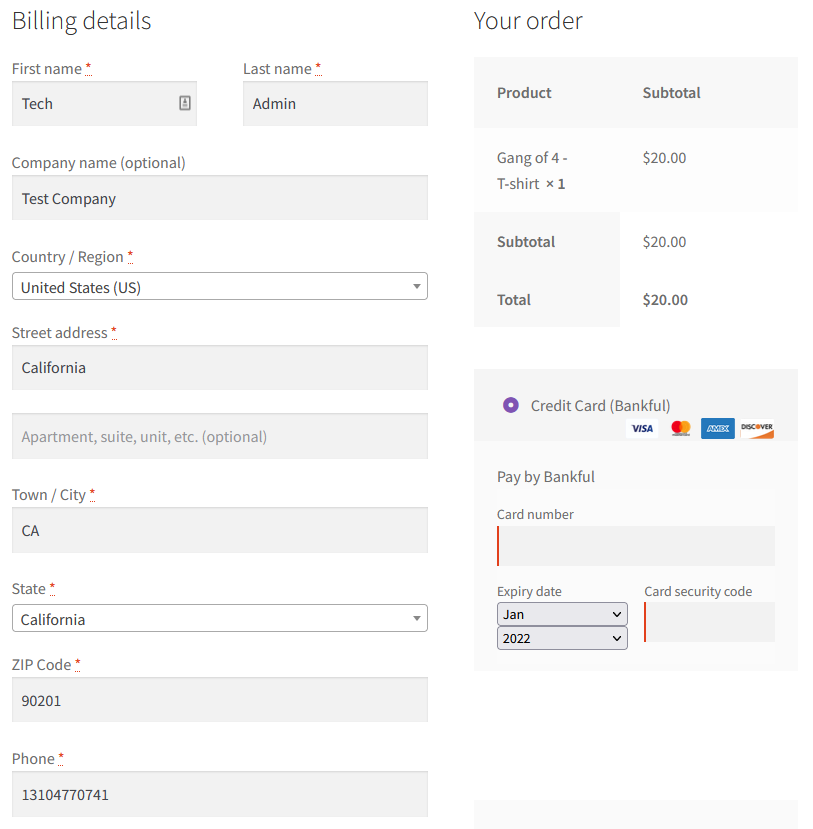
- Then go to your store and test a product that you setup with a subscription rule
- Checkout using Bankful
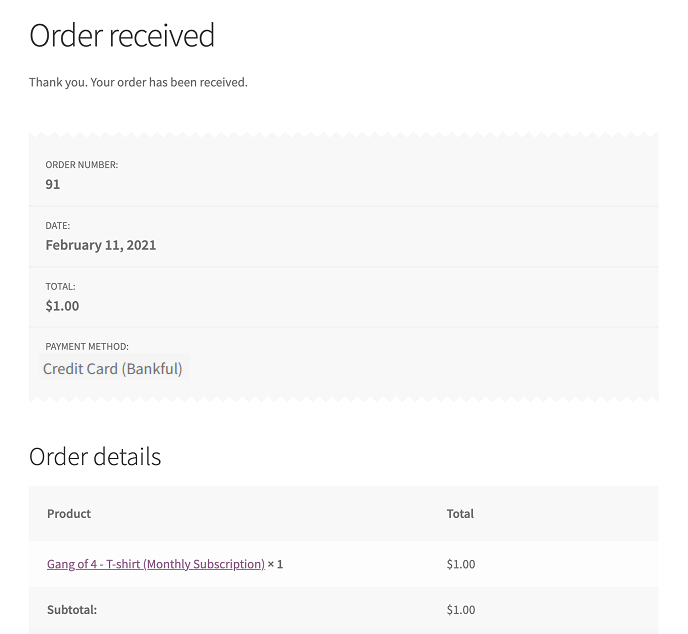
- Confirm order
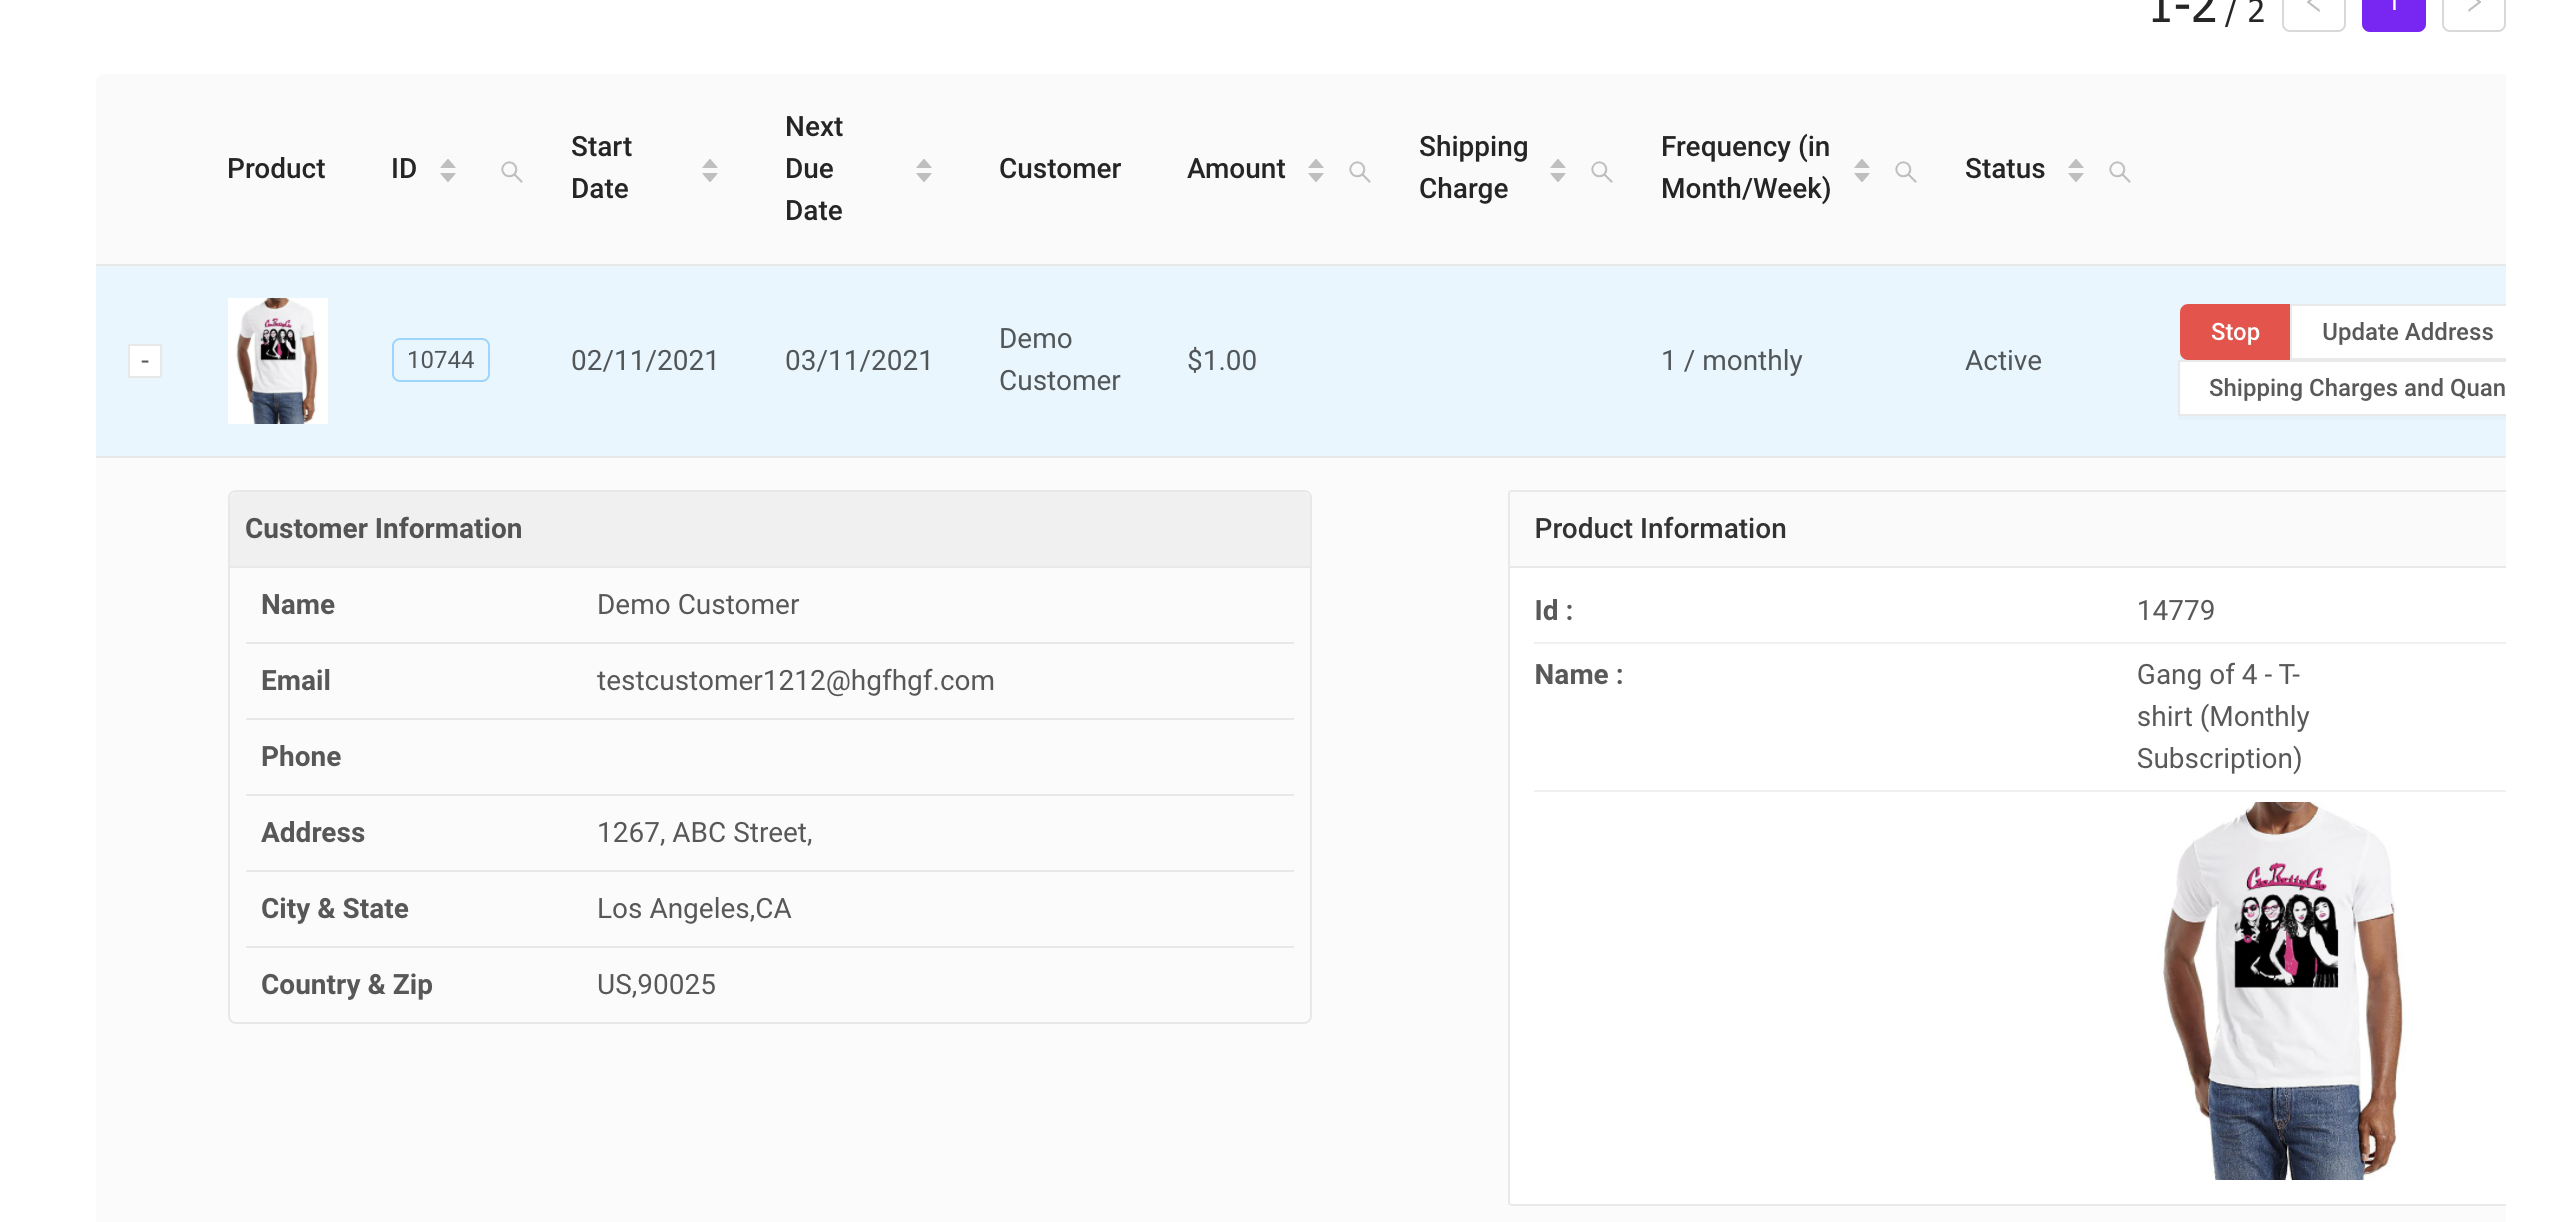
- Log into the Bankful Portal to see if the new subscription has been created by clicking on the “Subscriptions” tab
- A new subscription will appear as below


5.13.24