Getting Started with Authorize.net and Shopify
How to Connect Authorize.net to Shopify
- The process will start when we receive our authorization email from Authorize.net
- Here, we will then finalize the creation of our Authorize.net gateway and take it off of test mode.
- Login to Merchant interface at https://account.authorize.net/
- Select settings under Account within the main menu
- Click “Security settings” and “Test mode”
- Click turn off test mode
- We now need to gather what is called an API Login ID and Transaction Key
- In the Authorize.net home screen, click “Account” from the main toolbar
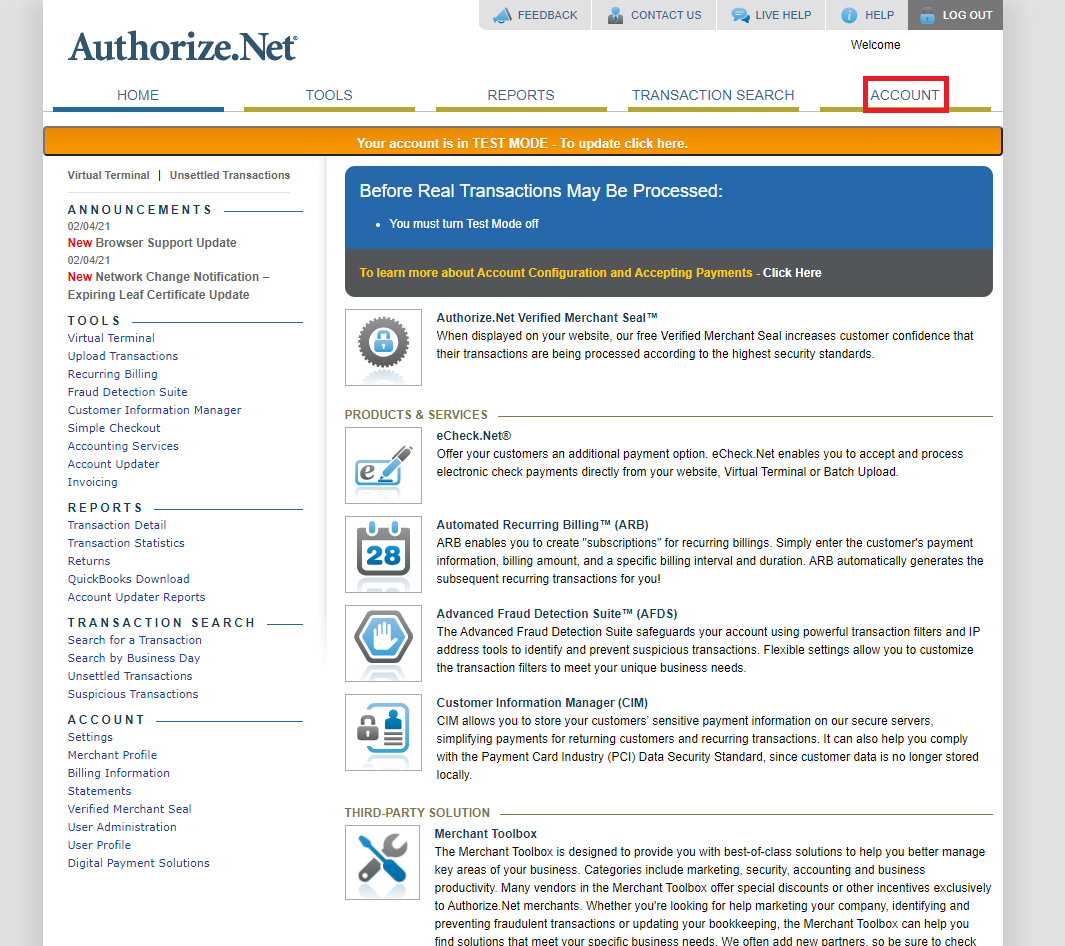
-
- Click “API Credentials and Keys”
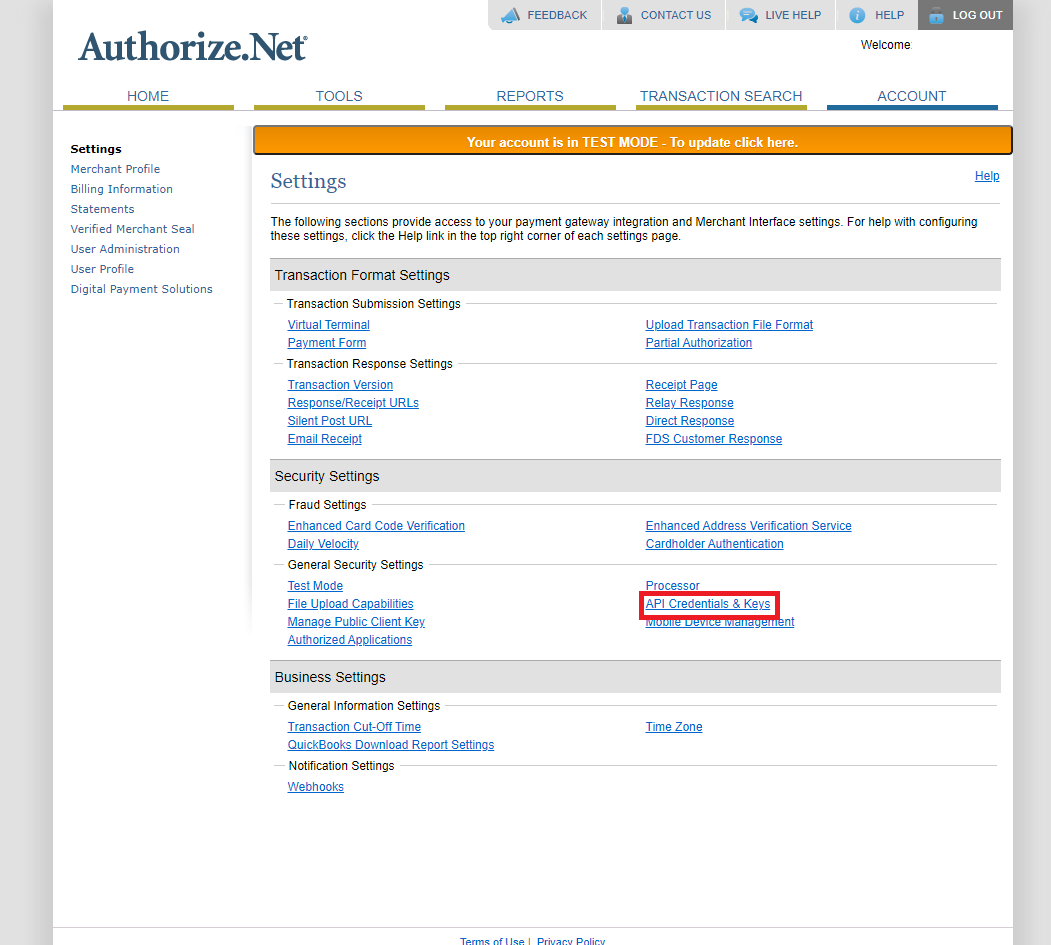
-
- Select “New Transaction Key” and click submit to continue which will the send a Pin to your email for confirmation
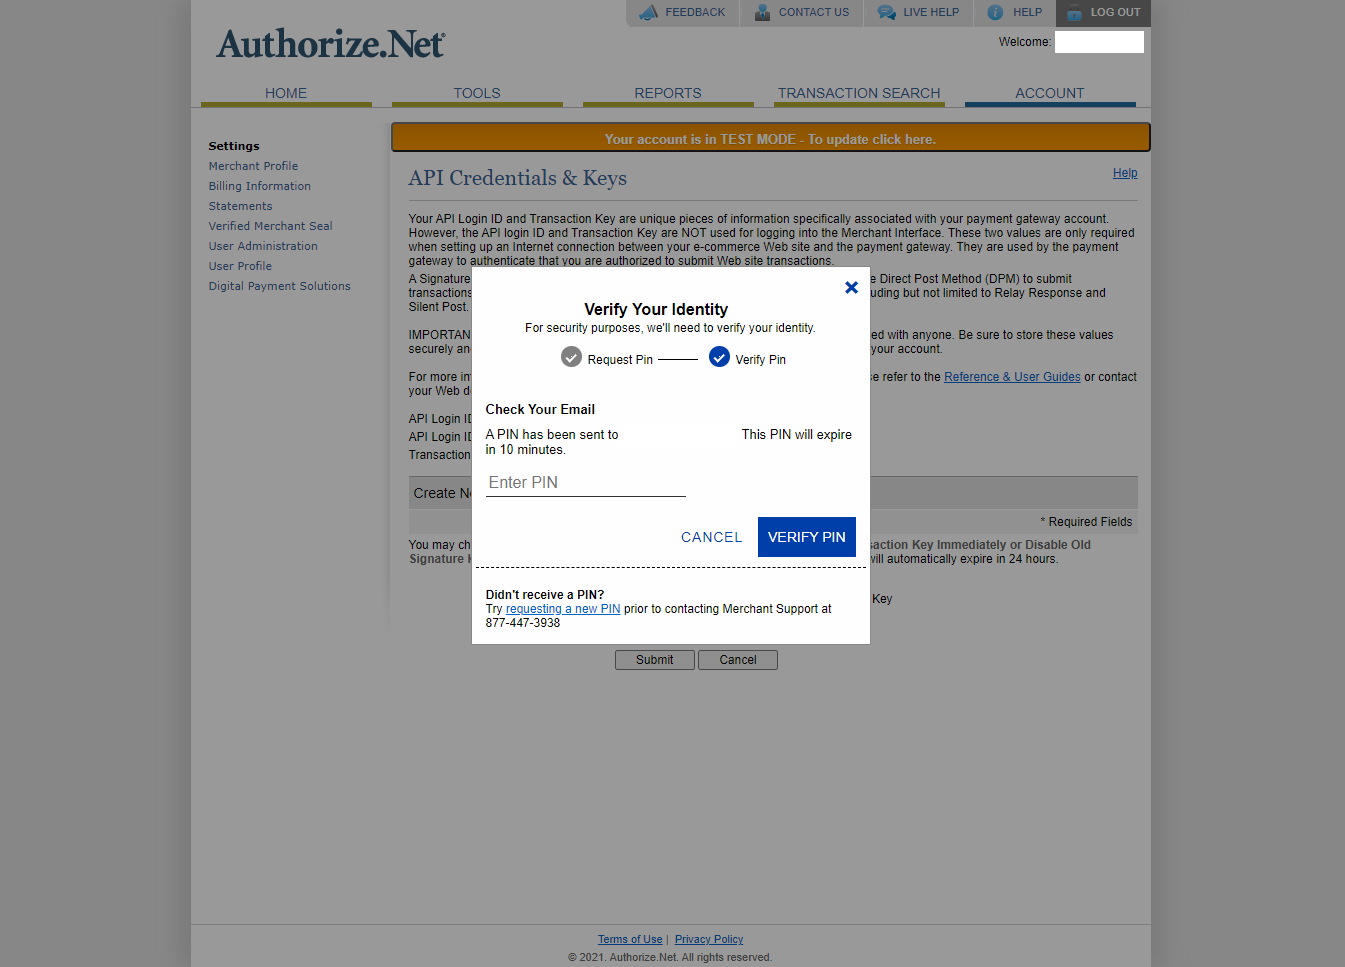
-
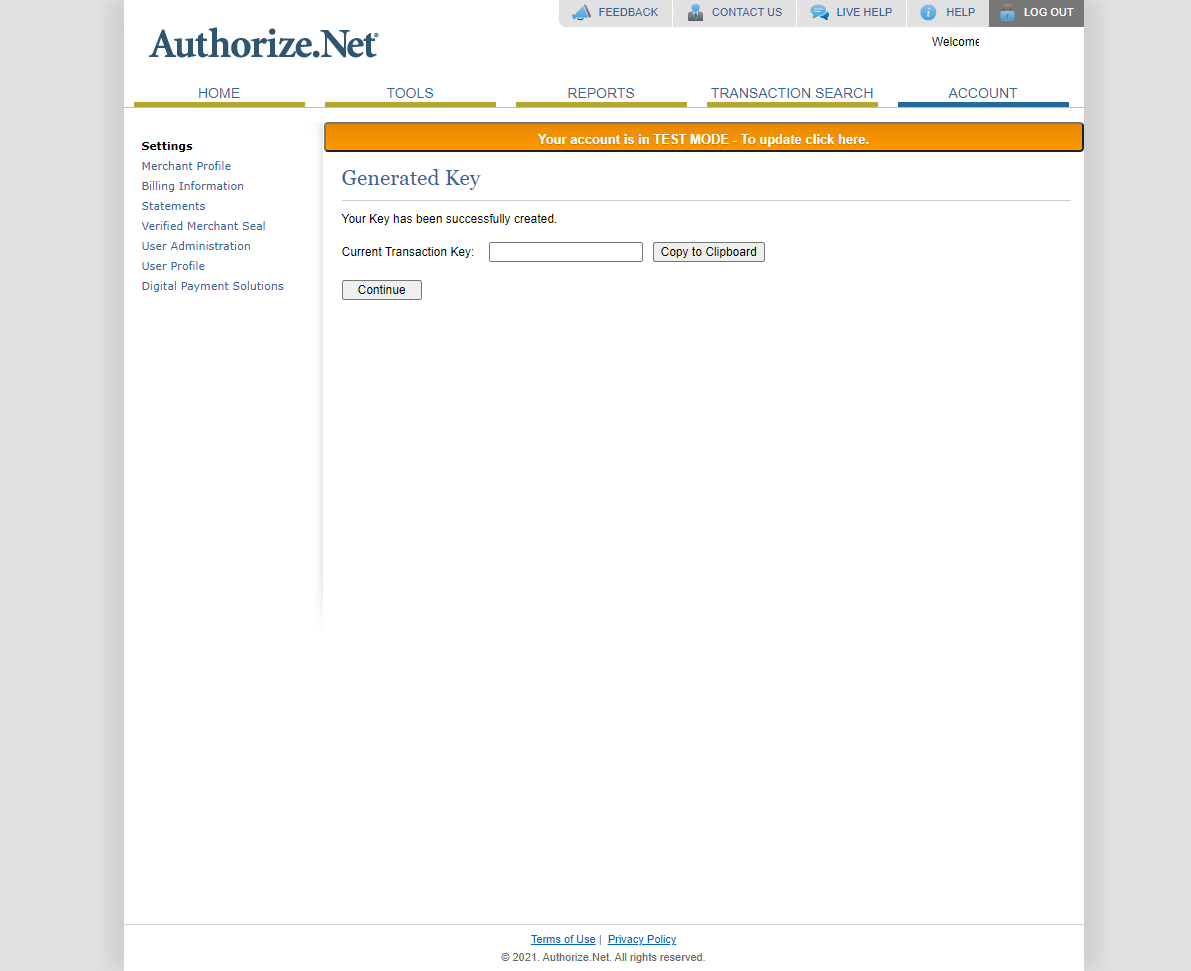
- After verification, your new key is displayed.
- We now need to log into our Shopify store.
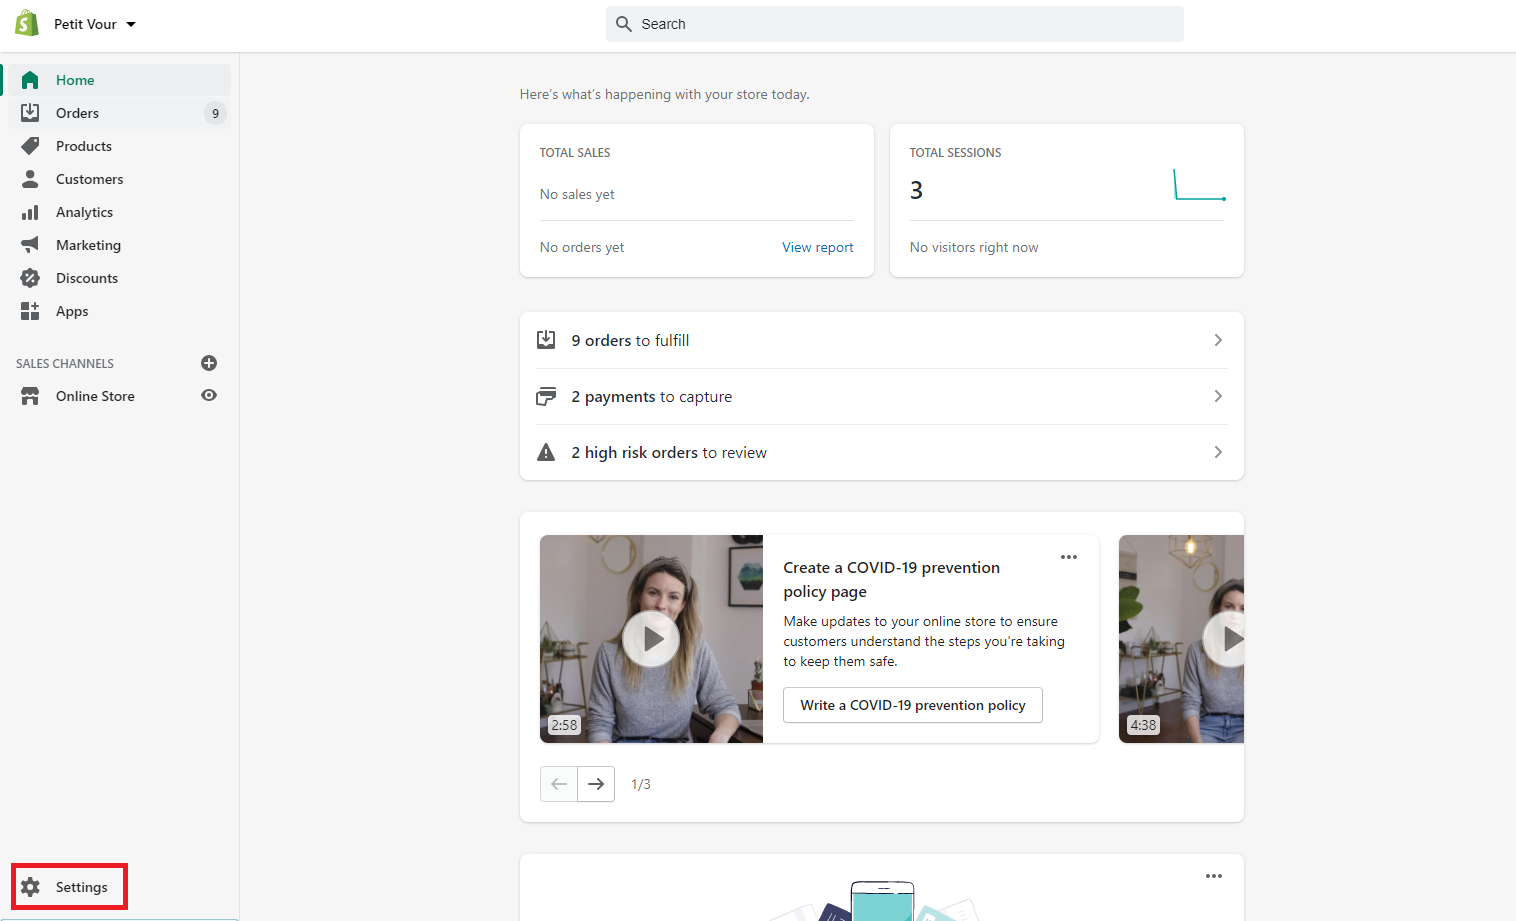
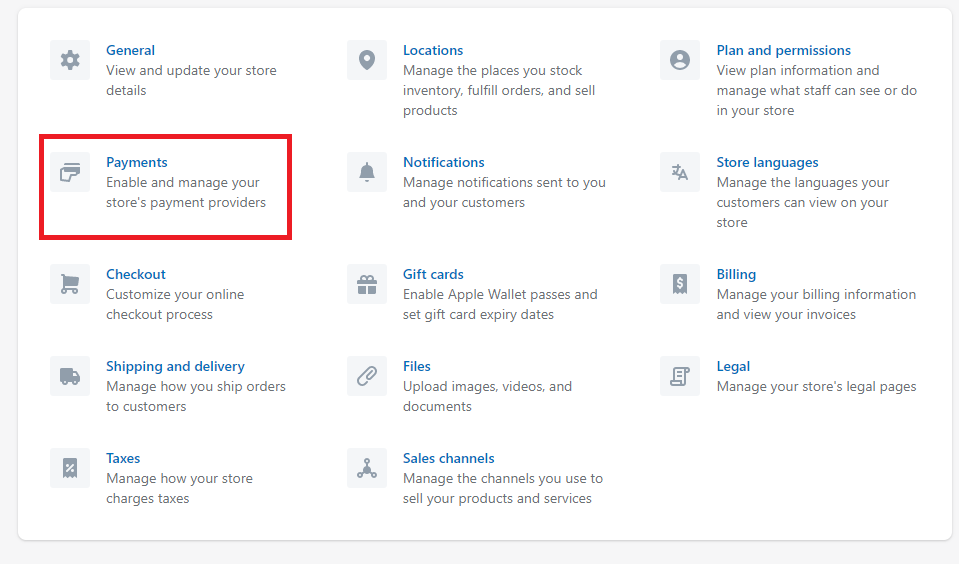
- Click on settings and then “Payments”
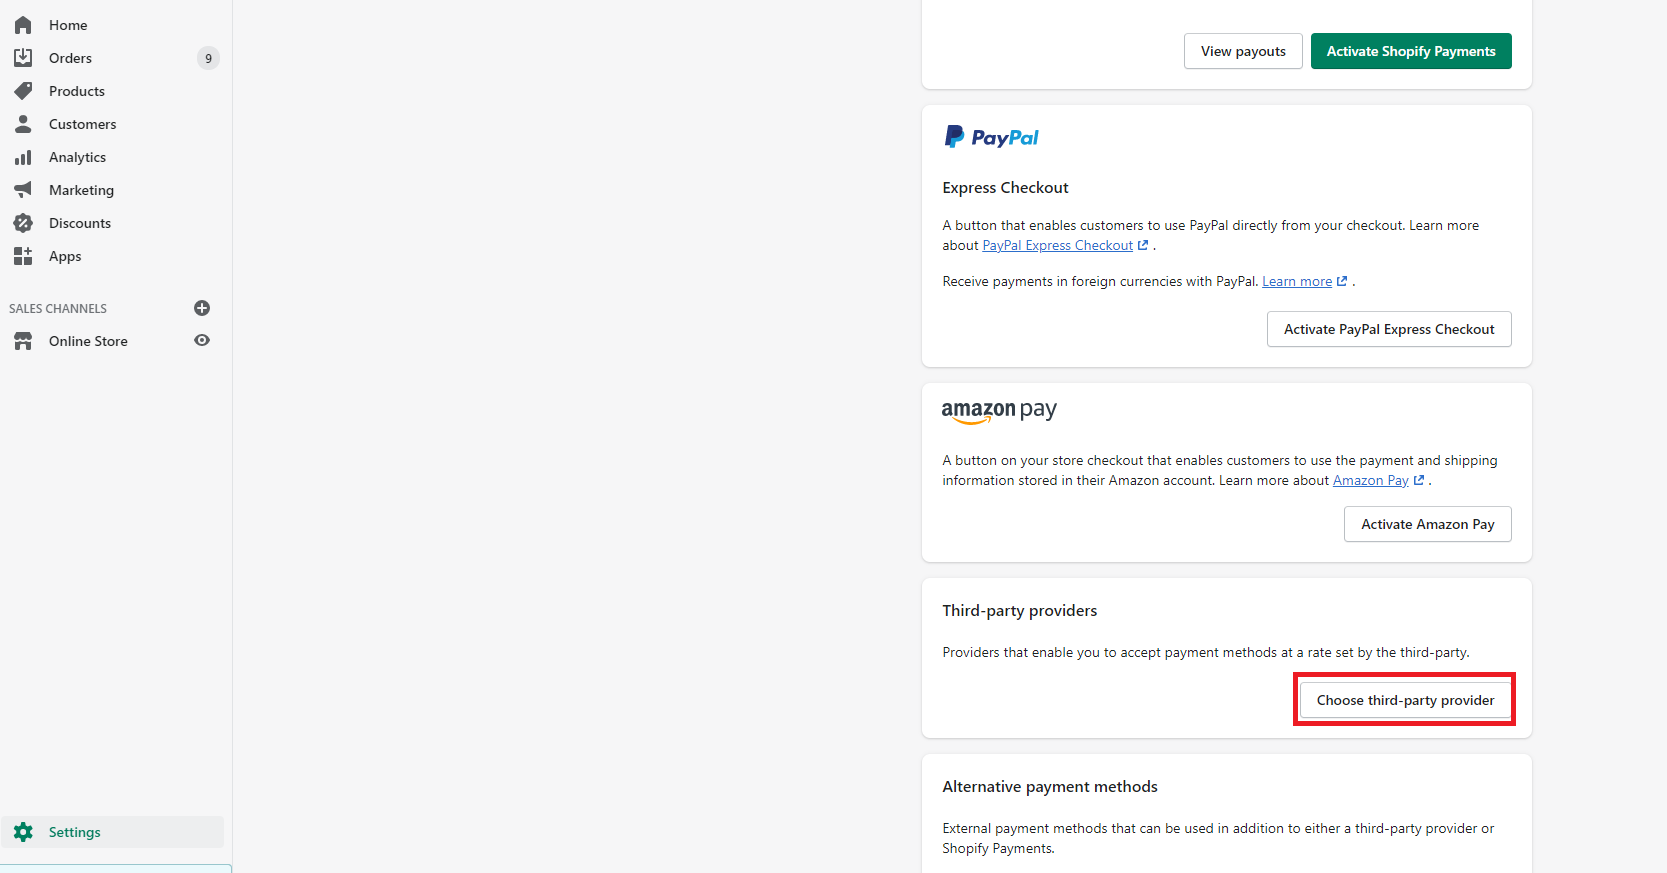
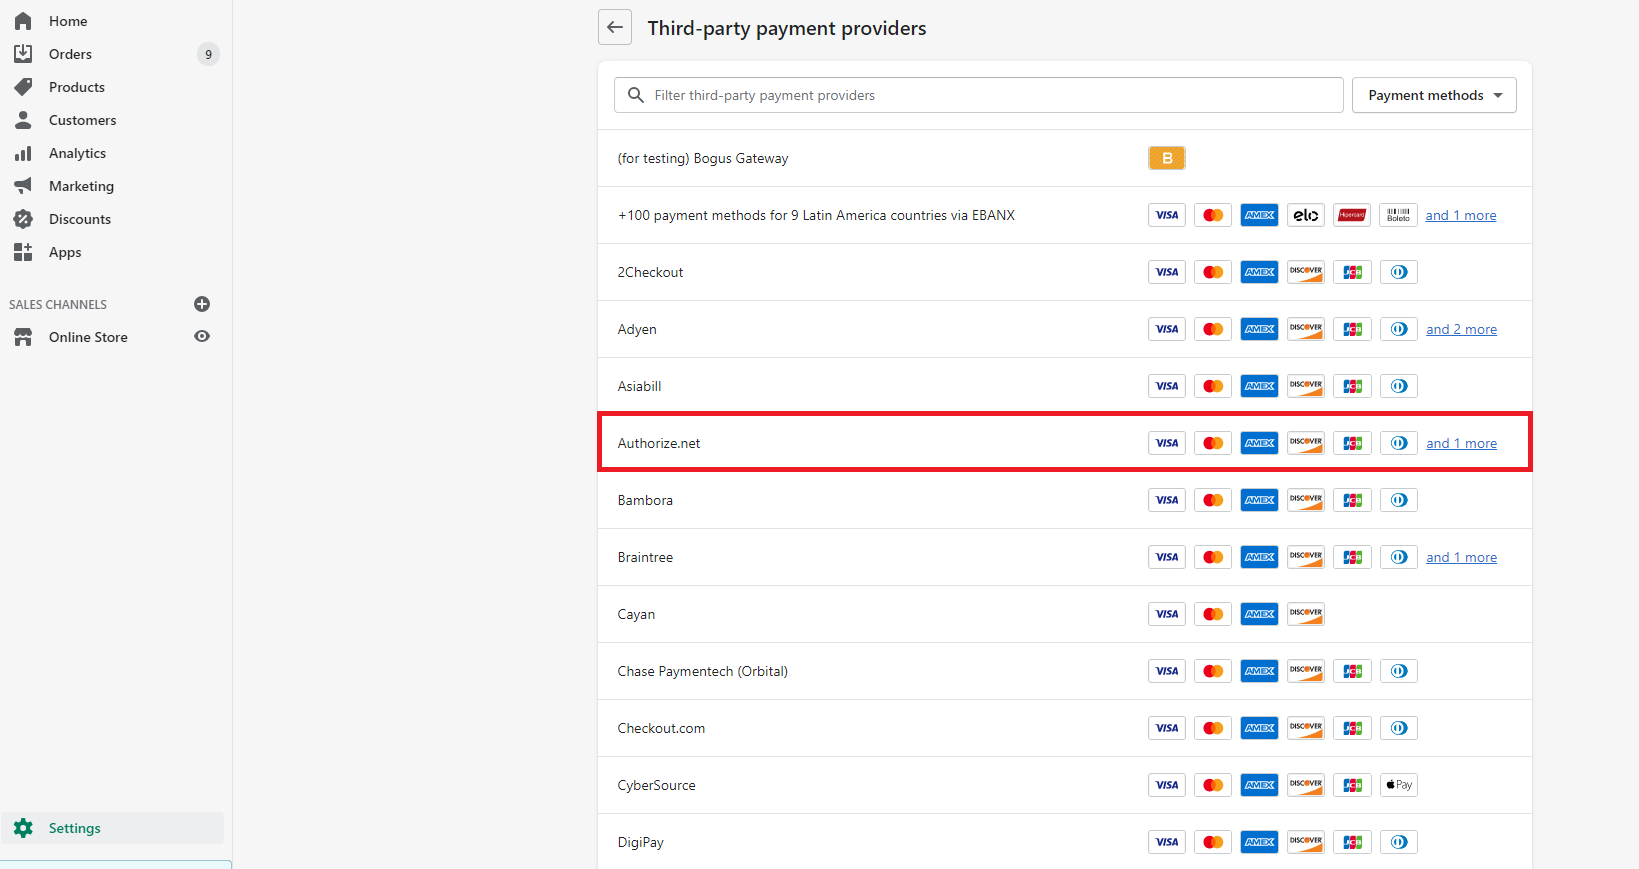
- In the Third Party Providers section click “Choose third-party provider” and select Authorize.net
- Enter your API Login ID and Transaction key
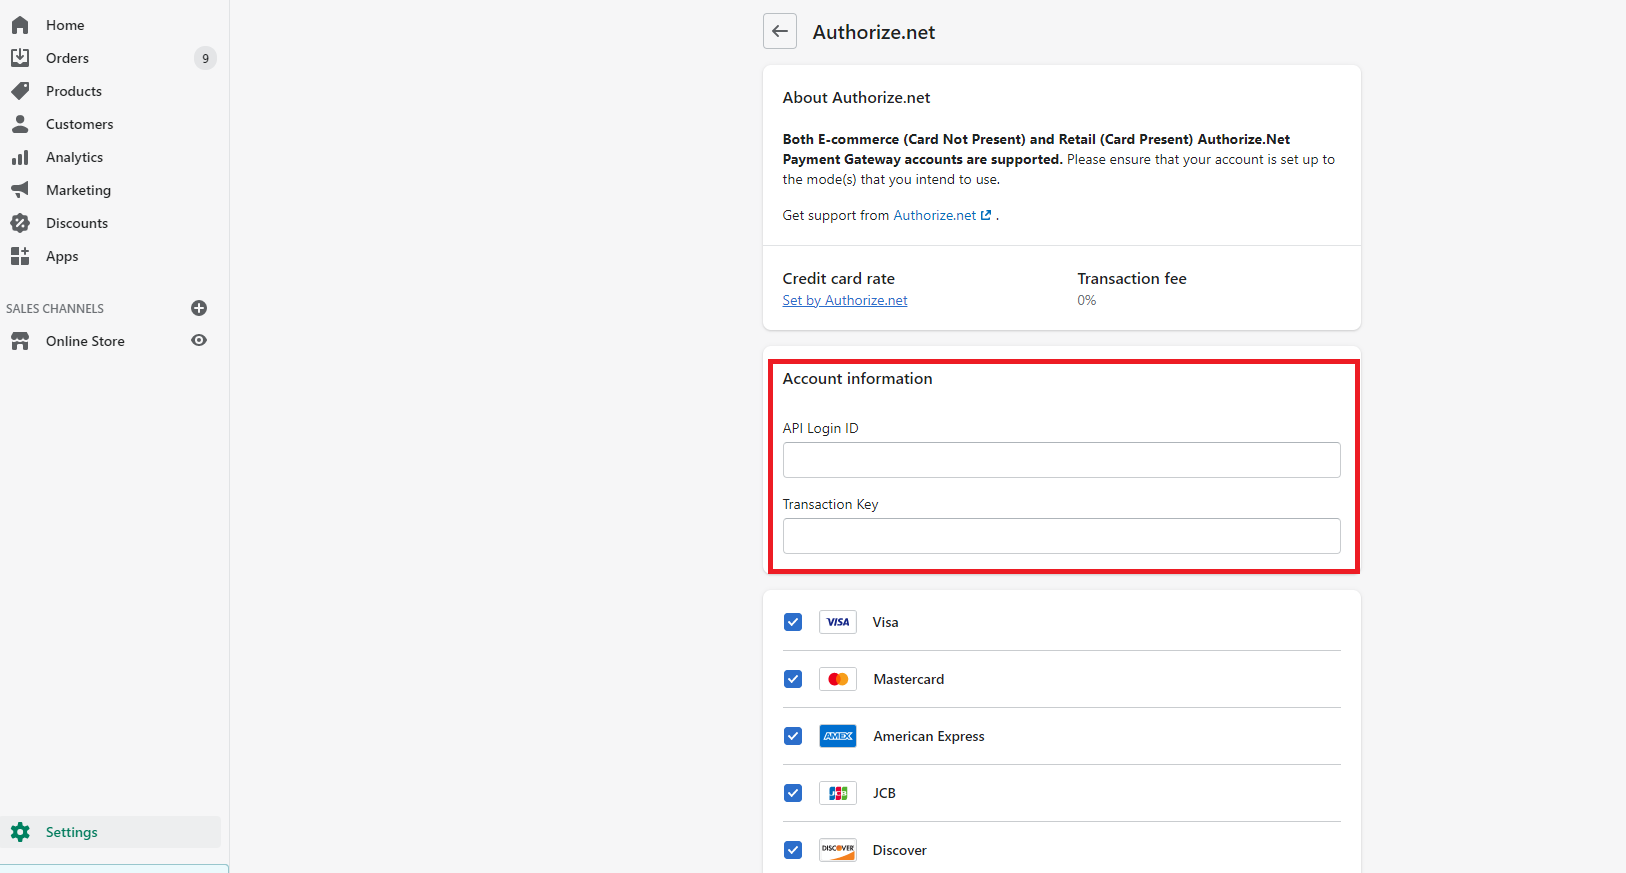
- Click Activate