eCheck Plus

- In this guide, we will go over using eCheck Plus, our digital check processing system
- If you do not yet have a Bankful account, please visit https://bankful.com/ to sign up
- About
- Activation
- Connecting eCheck Plus
- Customer Interface
- Managing eCheck Plus
- Transaction Reconciliation
- Support
About
- Bankful offers a check imaging service where we give our merchants with US bank accounts the option to accept payments via check through your website.
- Your customer will simply input their bank account information for payment.
- We then create a physical check and deposit it, on your behalf to the bank account on file
Required Supporting Documents
- Clear, color copy of a government issued Photo ID
- Voided Check or Bank Letter
- Business License/ Incorporation Documents
Activation
- Login to Bankful
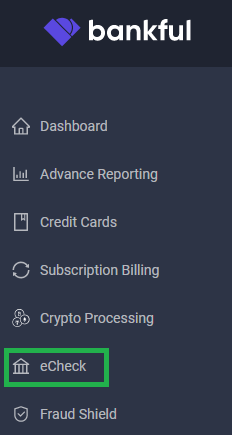
- On the left-hand tool-bar, click eCheck
- You will now see the option to activate either:
- eCheck Plus – We print your checks and deposit them for you
- eCheck Mobile – You print your checks and use your bank’s mobile app to deposit
- Click on Activate eCheck Plus
- Please note pricing will vary depending on the plan selected

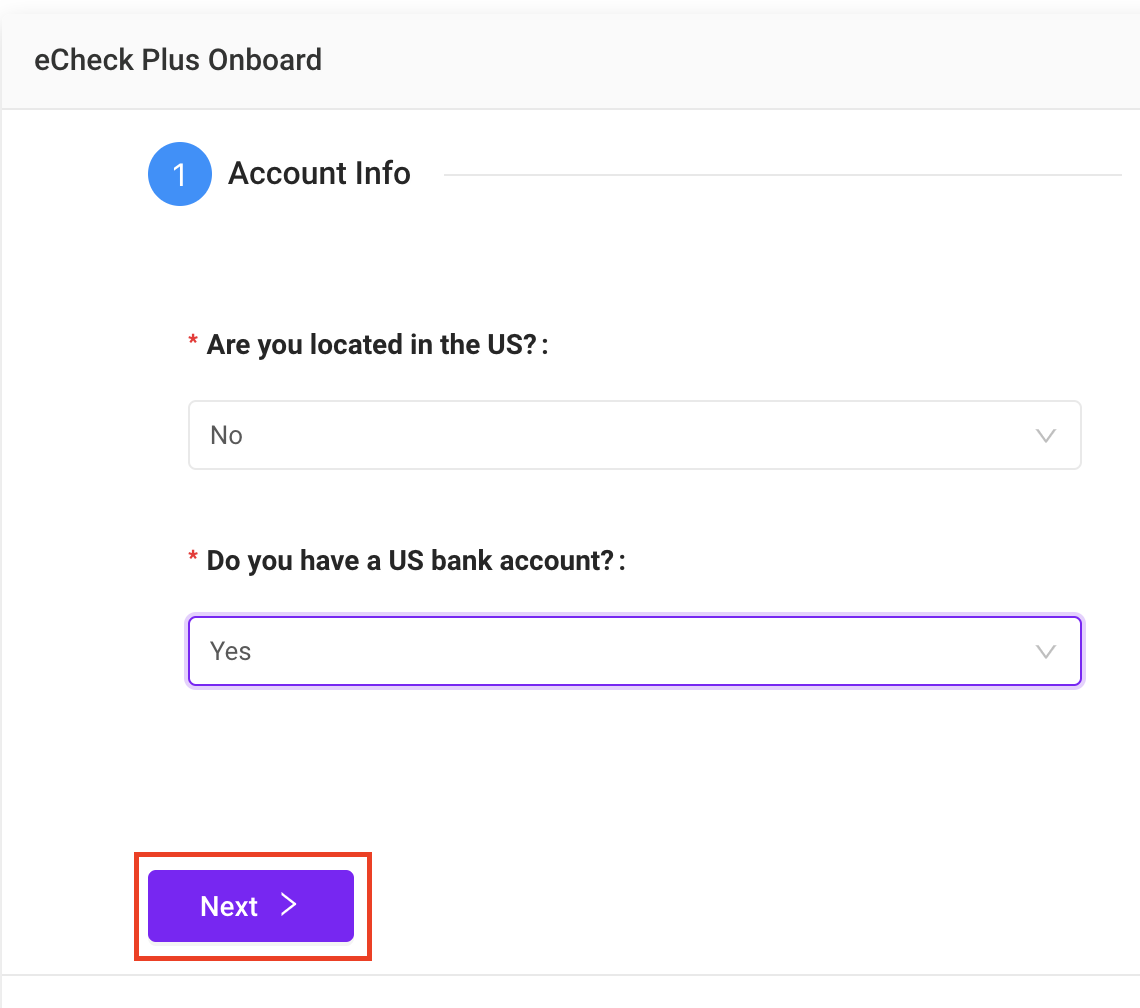
- You will indicate if you are located within the US or not
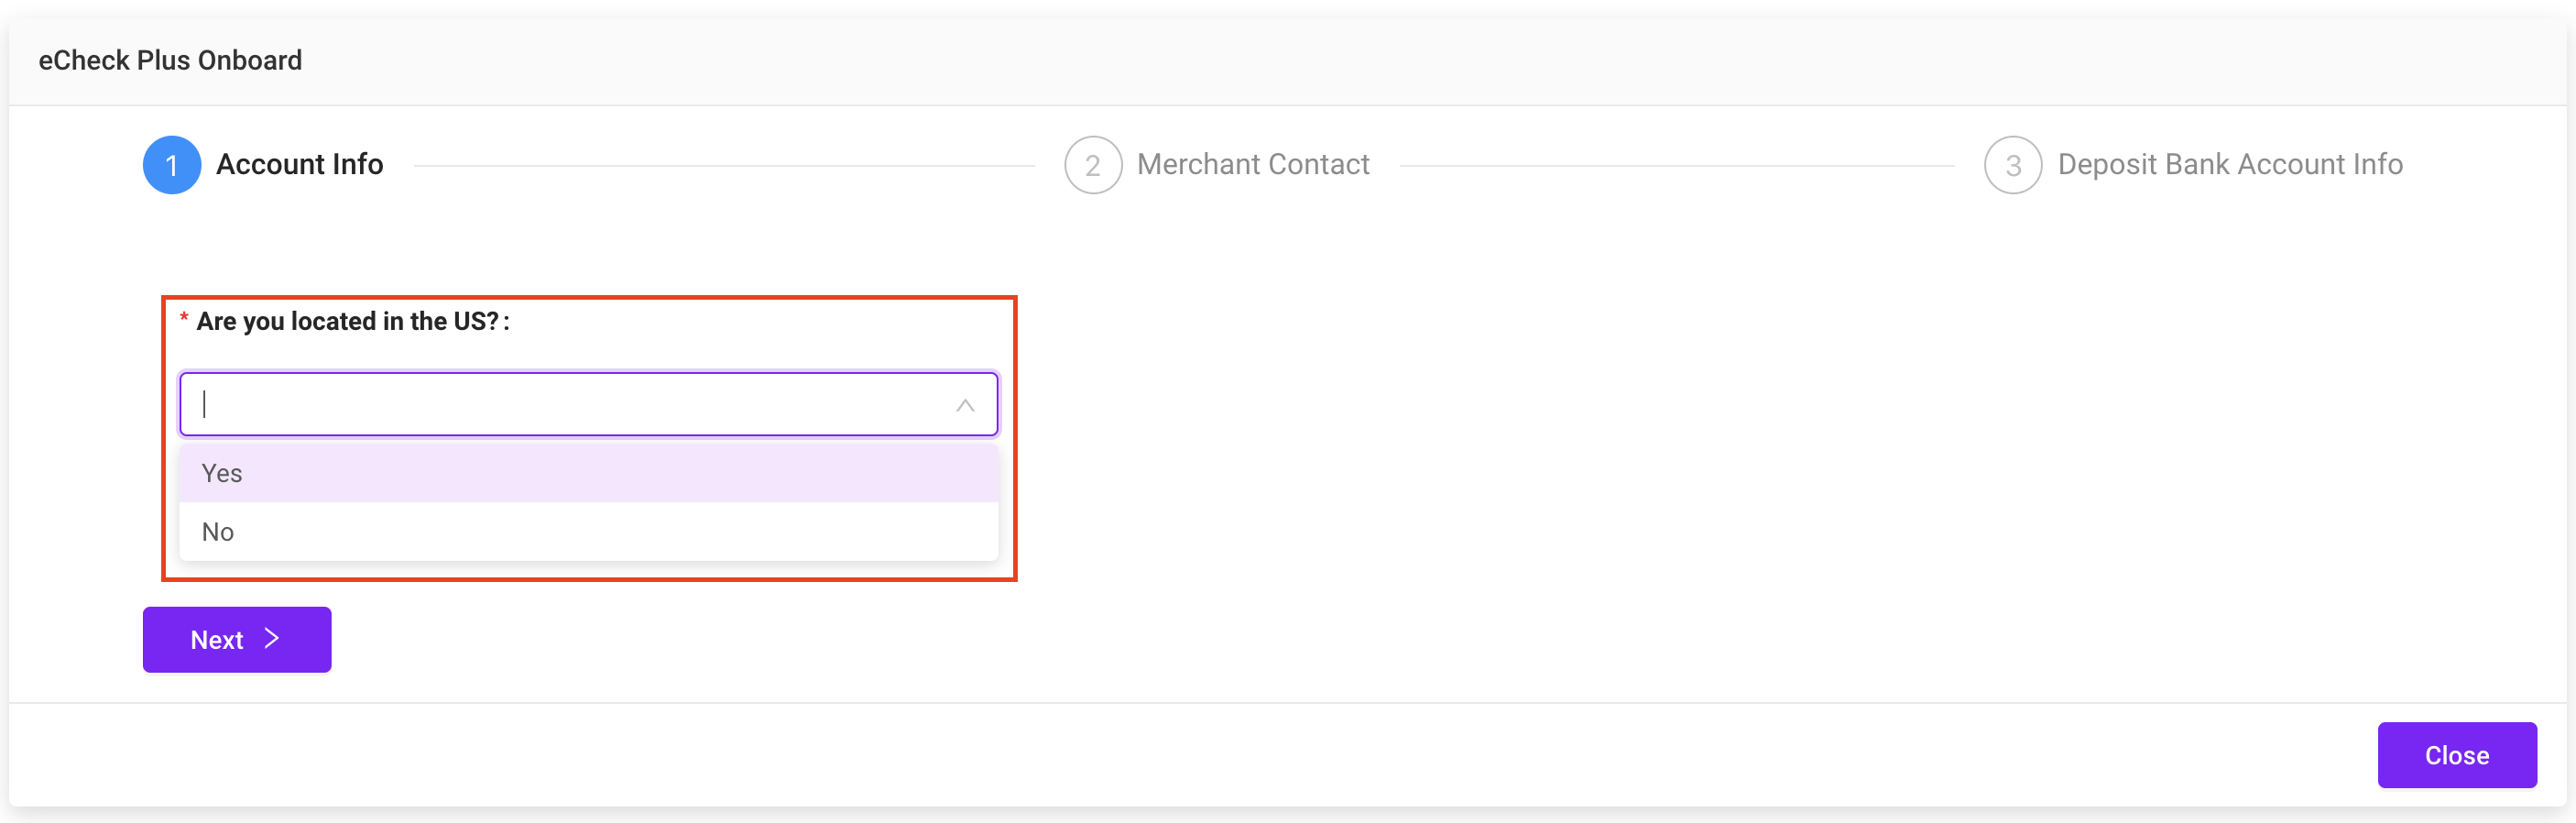
- Next, you will be asked if you have a US bank account.
- If no, you will receive a message stating the service is only available for US bank accounts
- Unfortunately, you will not be allowed to proceed as this is only a US based service at this time
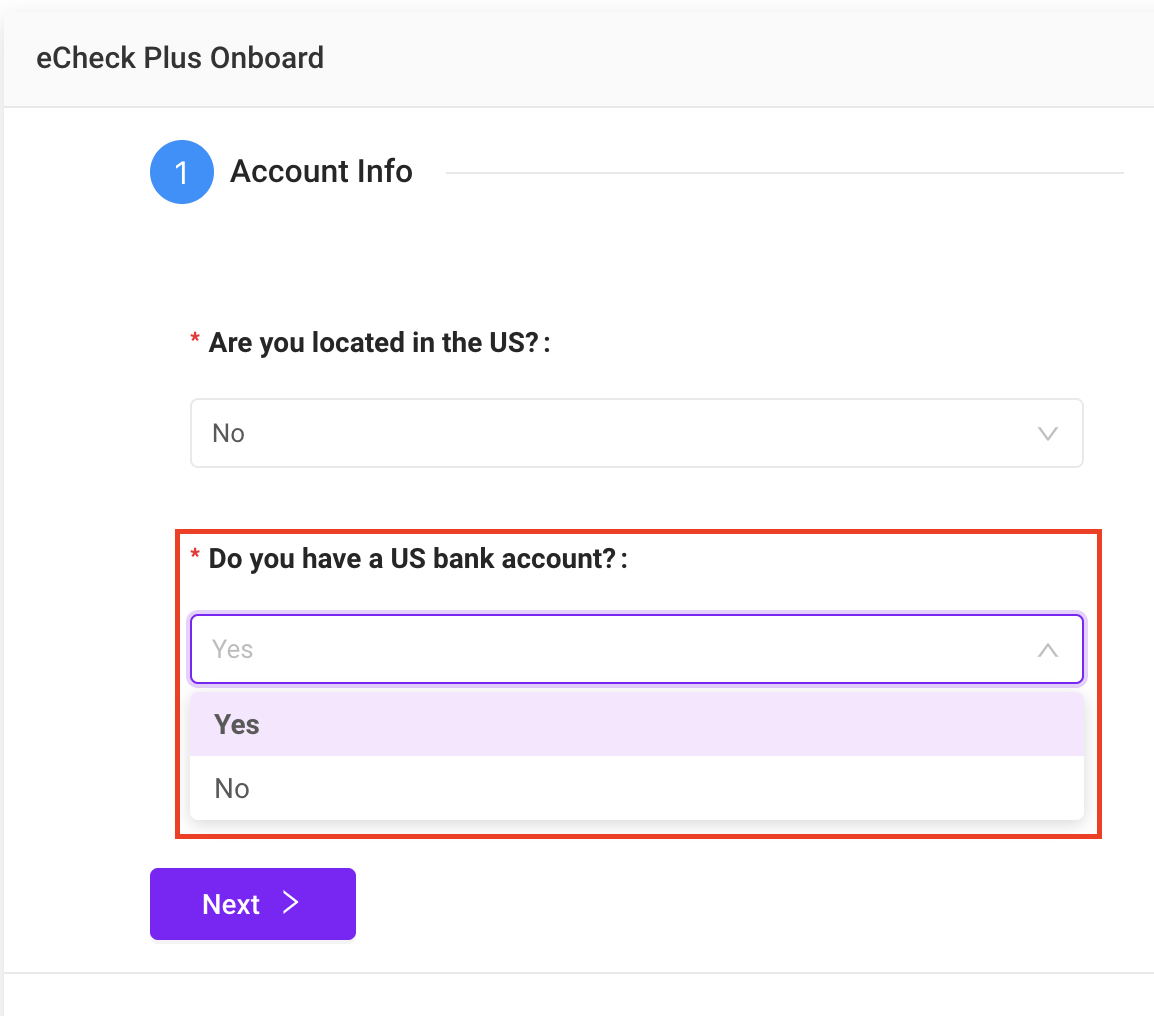
- If yes, you will click “Next” to proceed.
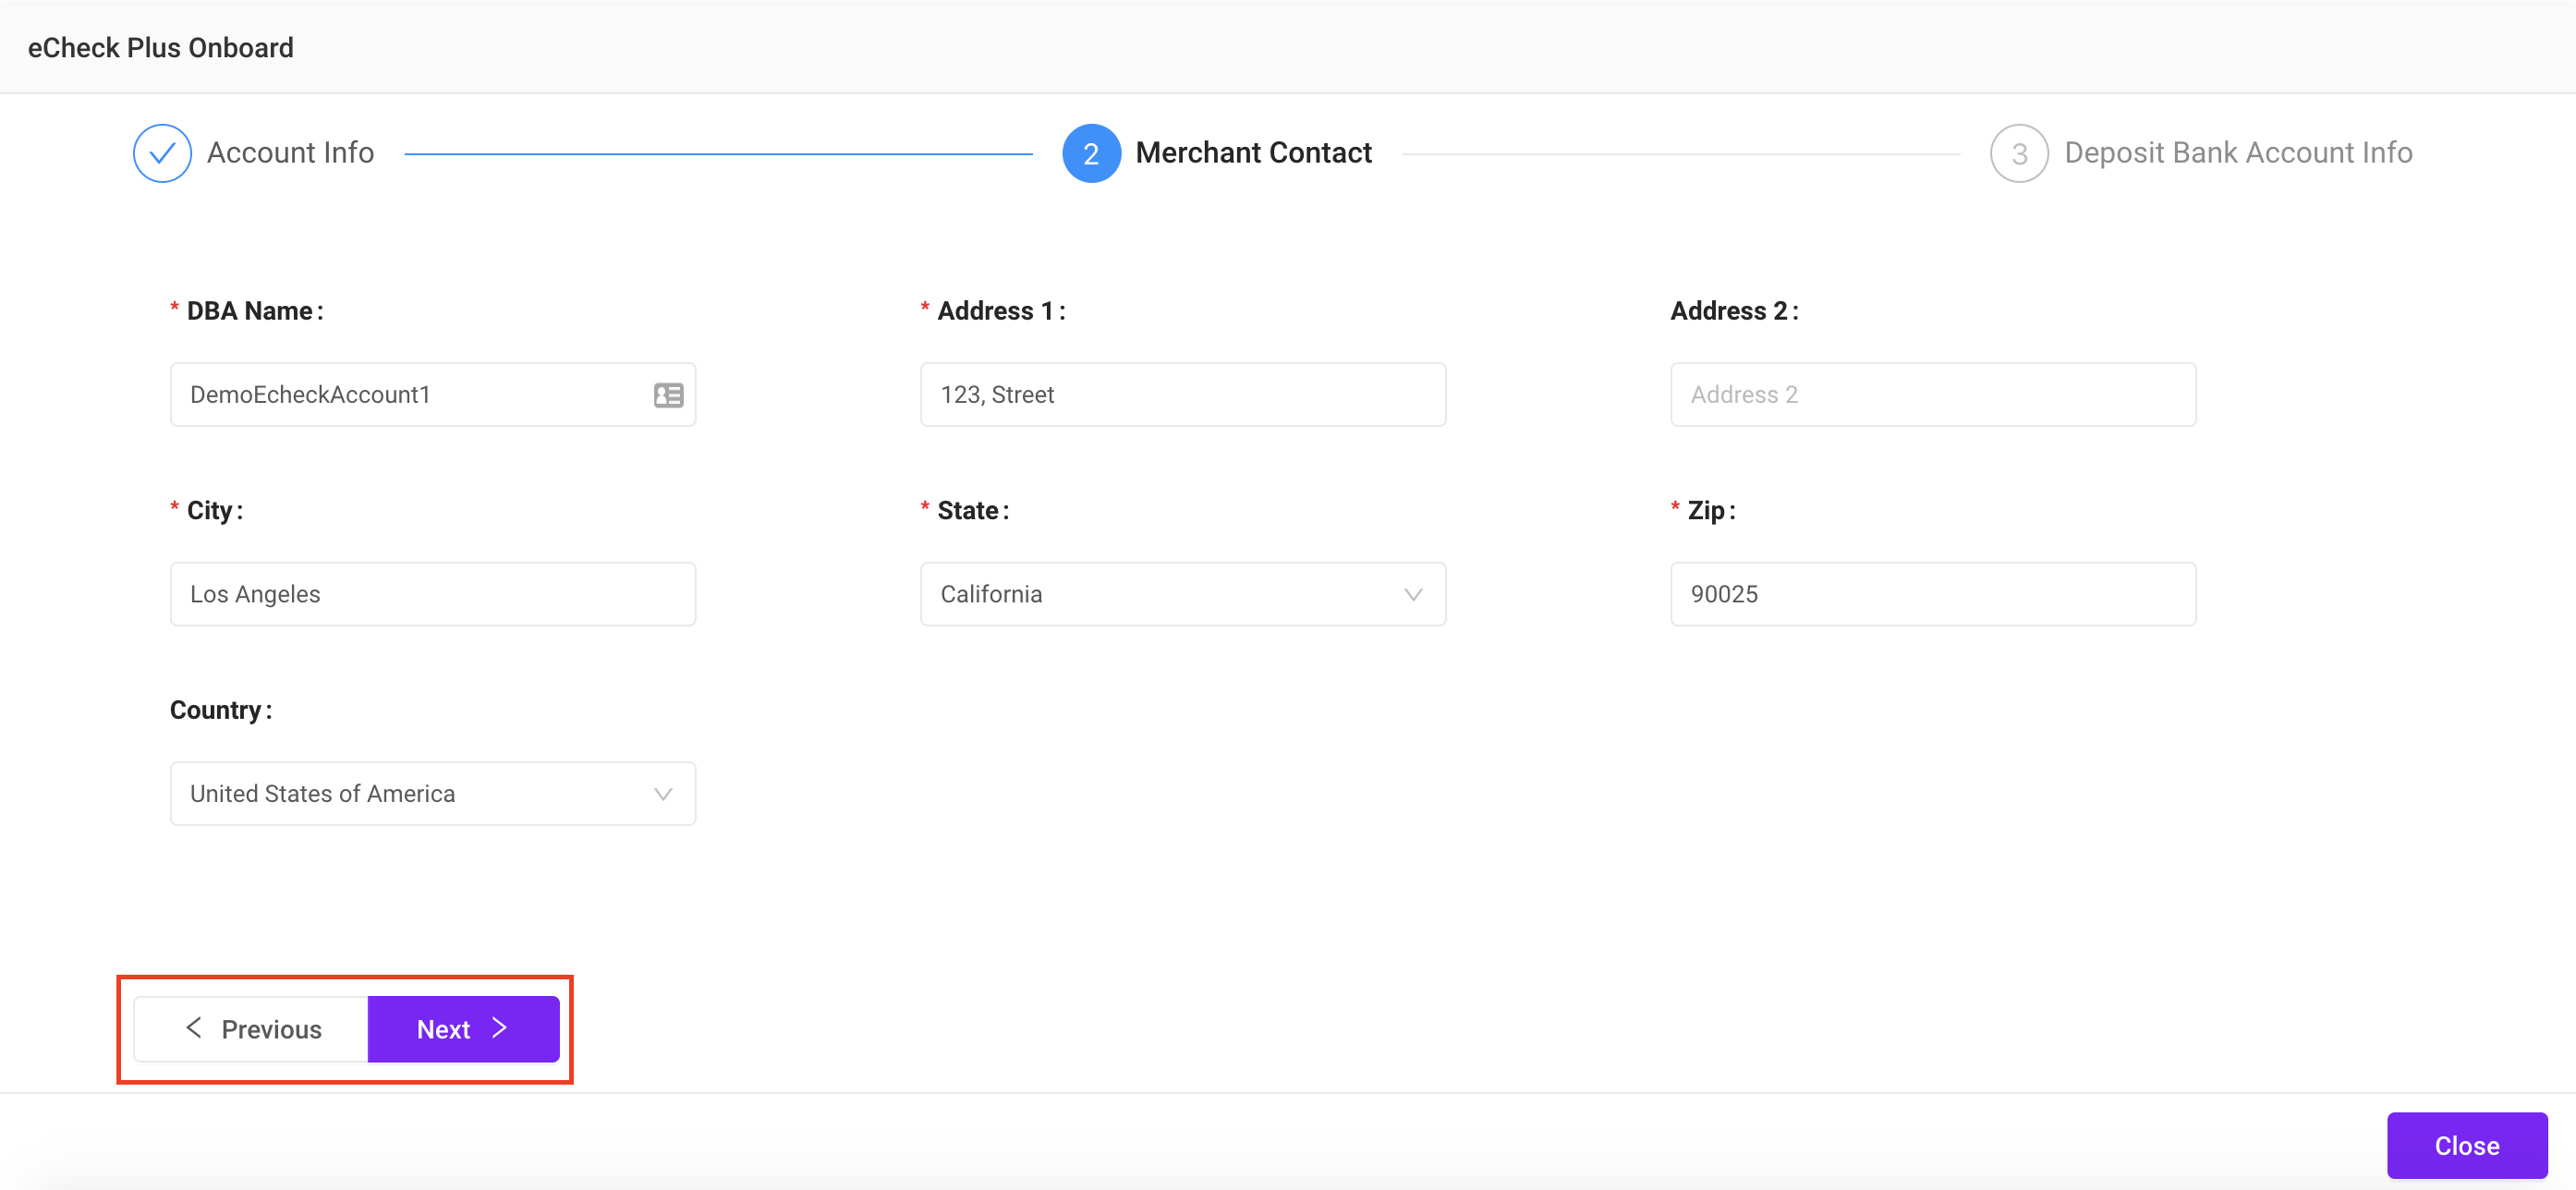
- Now we fill in the Merchant Contact fields
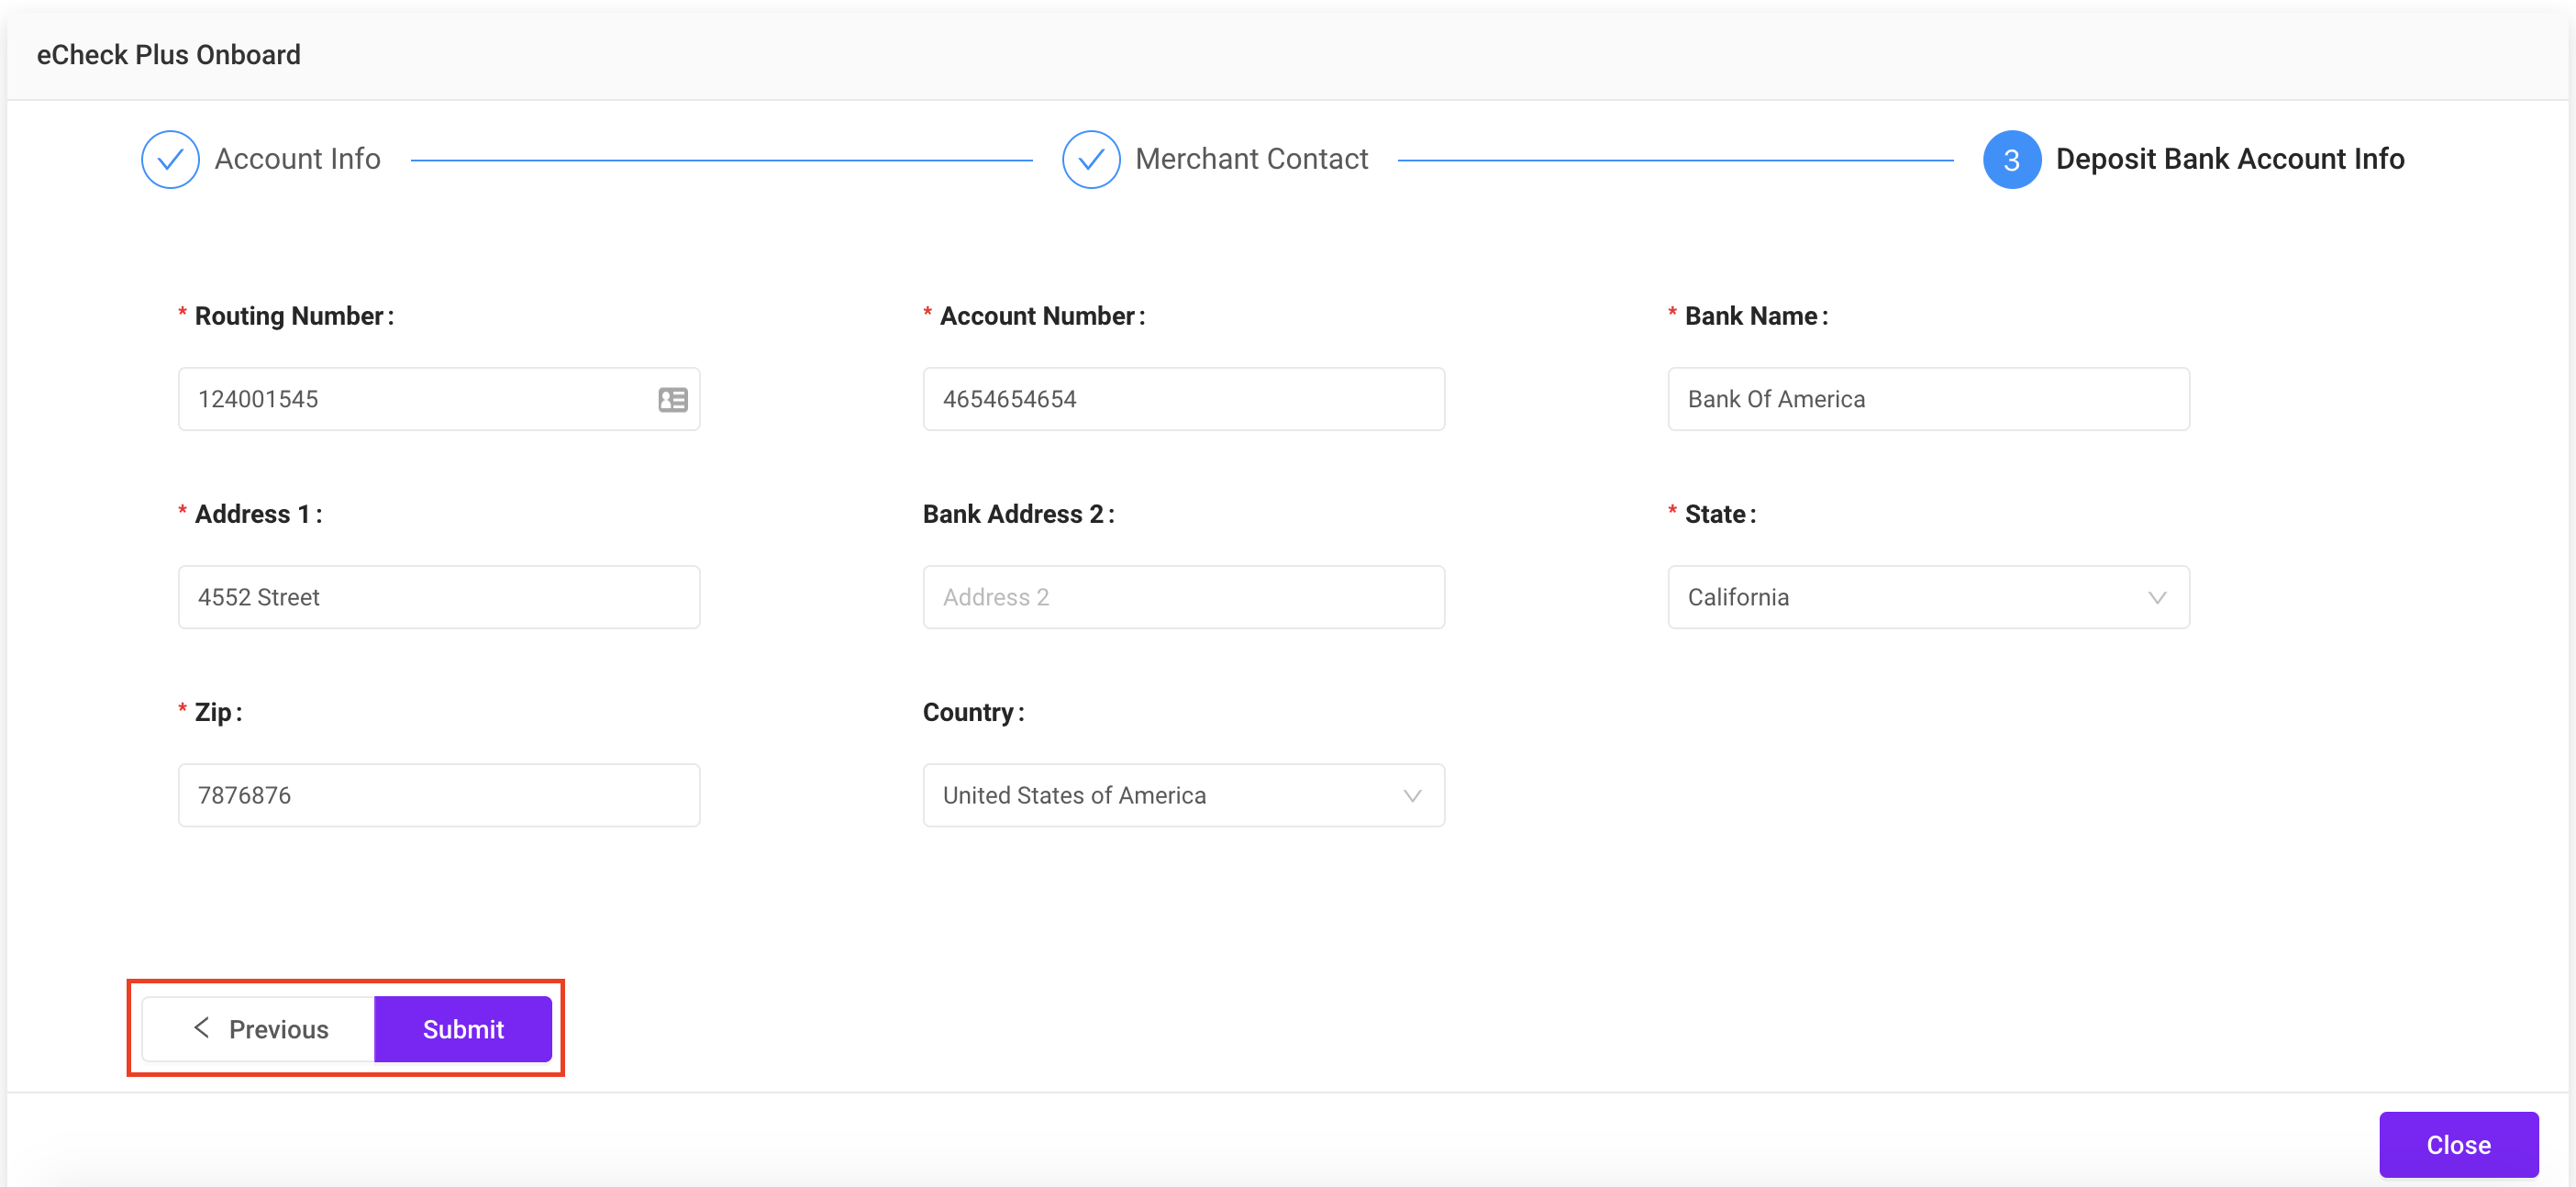
- Next enter the Deposit Bank Account Info fields
- Then click Submit
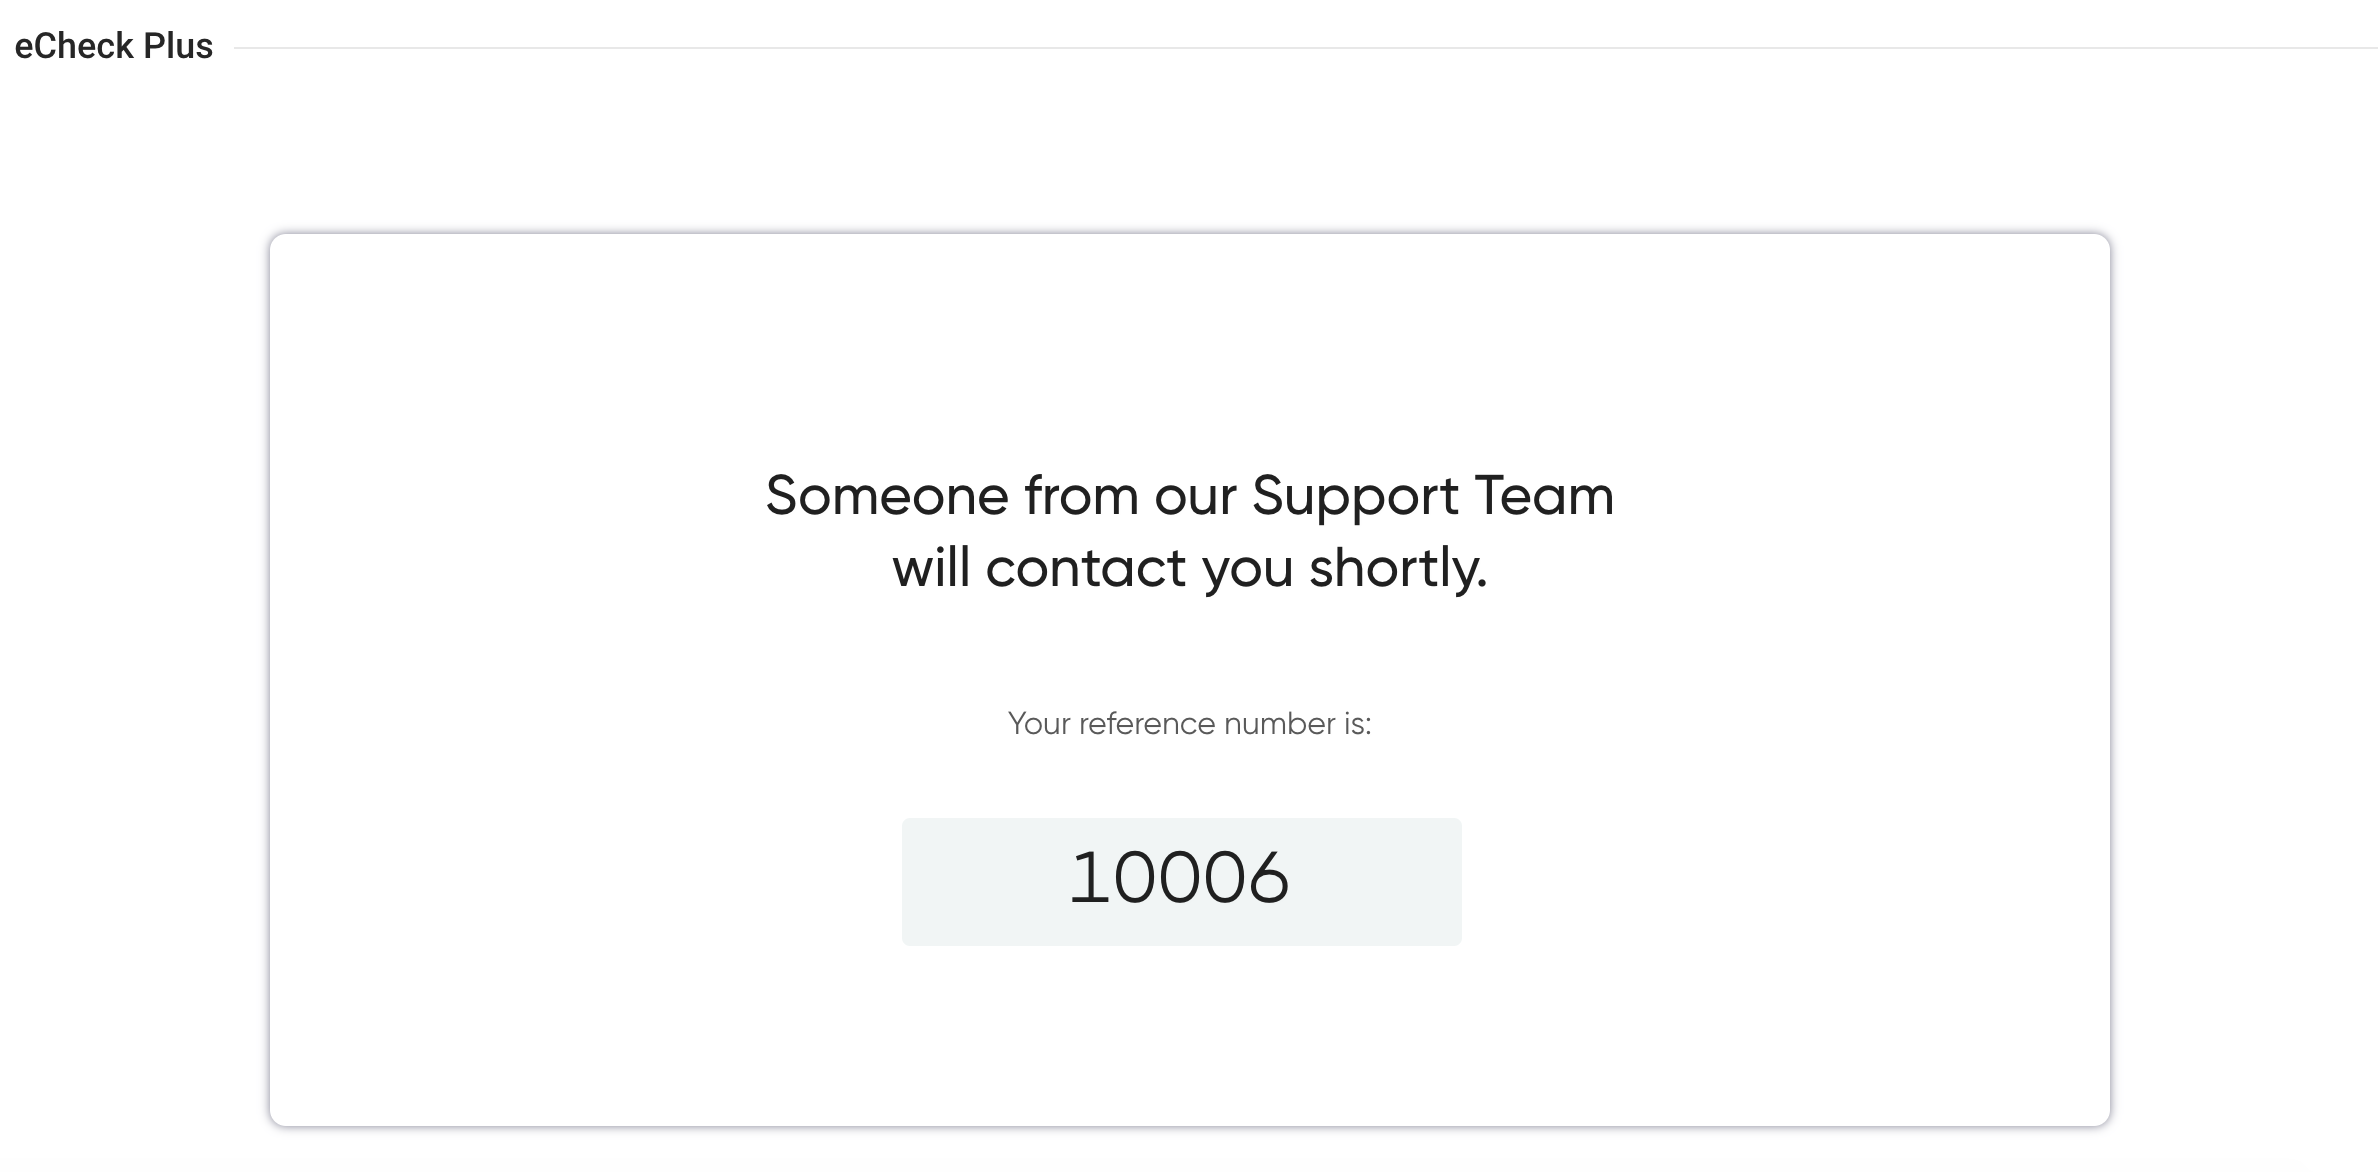
You will then be taken to a screen with a reference number and message stating someone from our support team will be contacting you shortly. During this time, we will be reviewing all information and documents to ensure we have everything needed to prevent any delays once the service is started.
Connecting eCheck Plus
- Once you have been approved for eCheck Plus, you can then connect Bankful to your store to start accepting eCheck payments! Click your store/cart below to see its integration guide:
- If you do not see your guide above, please reach out to us at Support@Bankful.com
Customer Interface
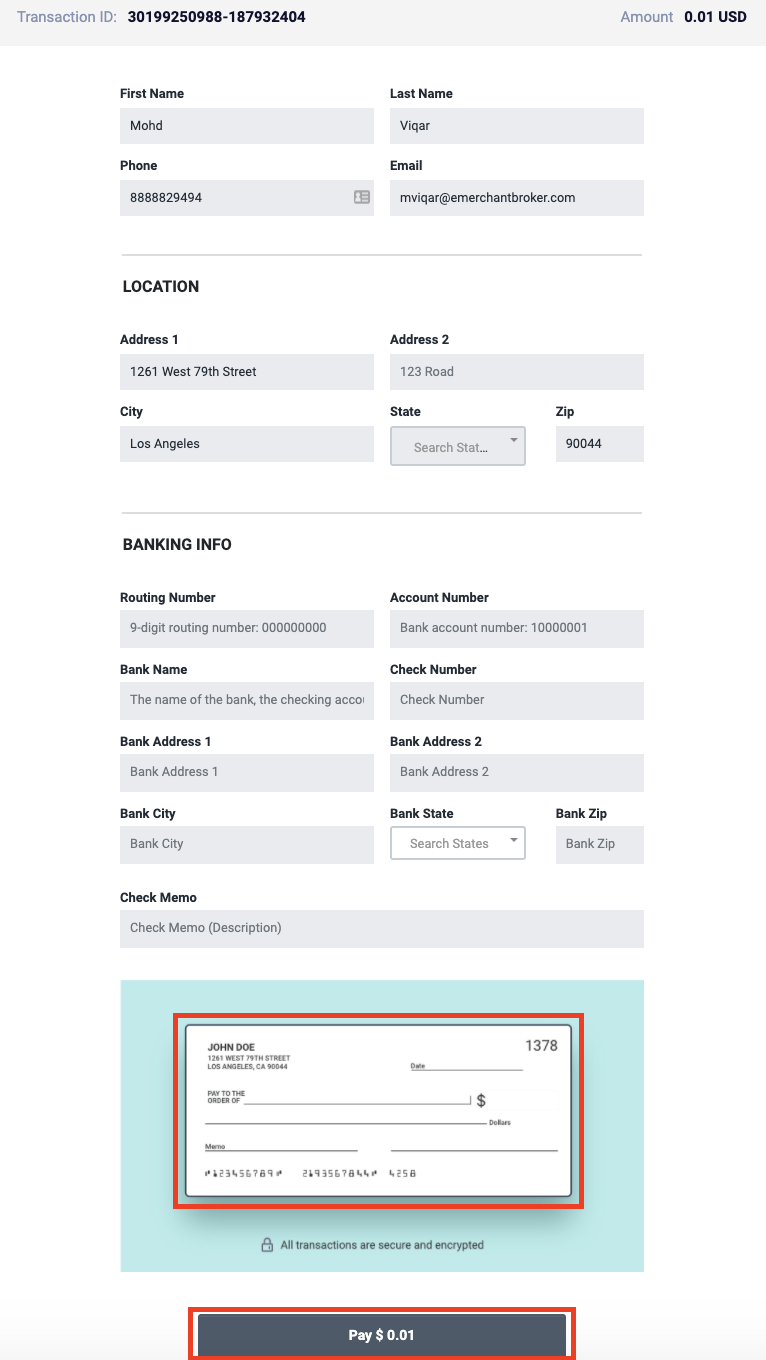
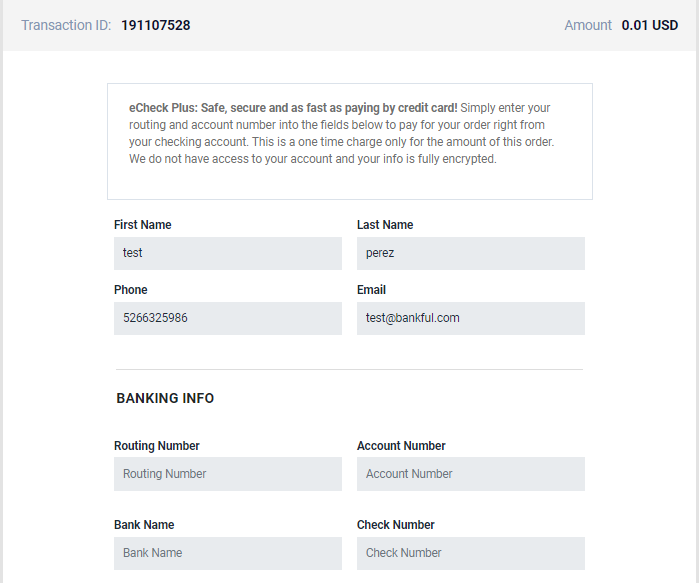
Your customer will see the following screen at checkout. They will input their banking information and simply click “Pay” to complete the transaction.
Managing eCheck Plus
- Log into Bankful
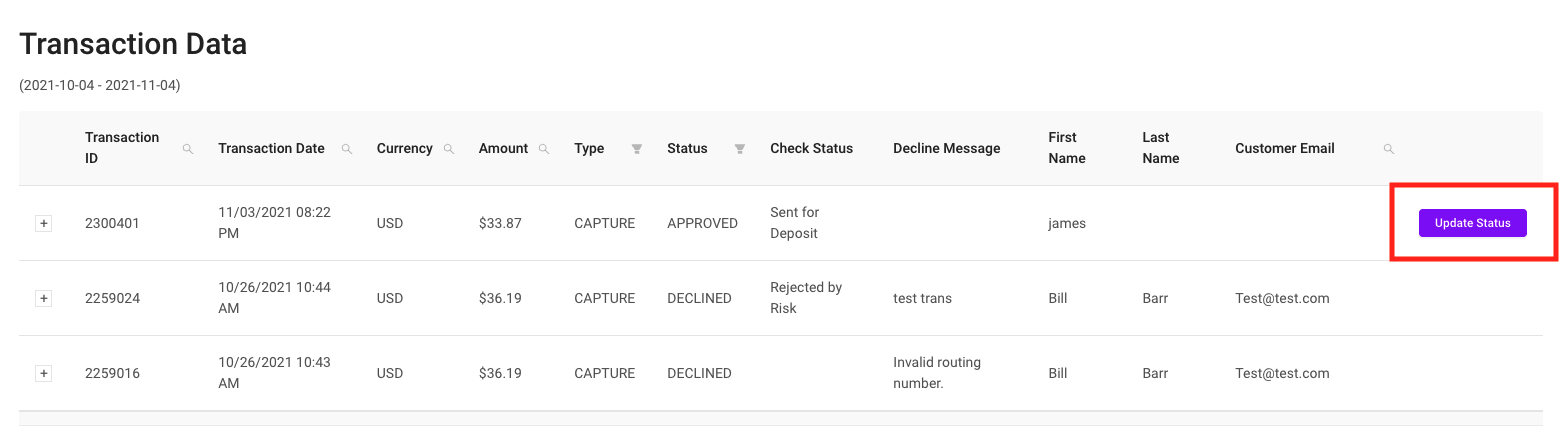
- On the left hand tool-bar click on the eCheck Plus tab
- This will open a drop-down, click on Completed Batches
- This tab will show all of your check transactions and their current Check Status
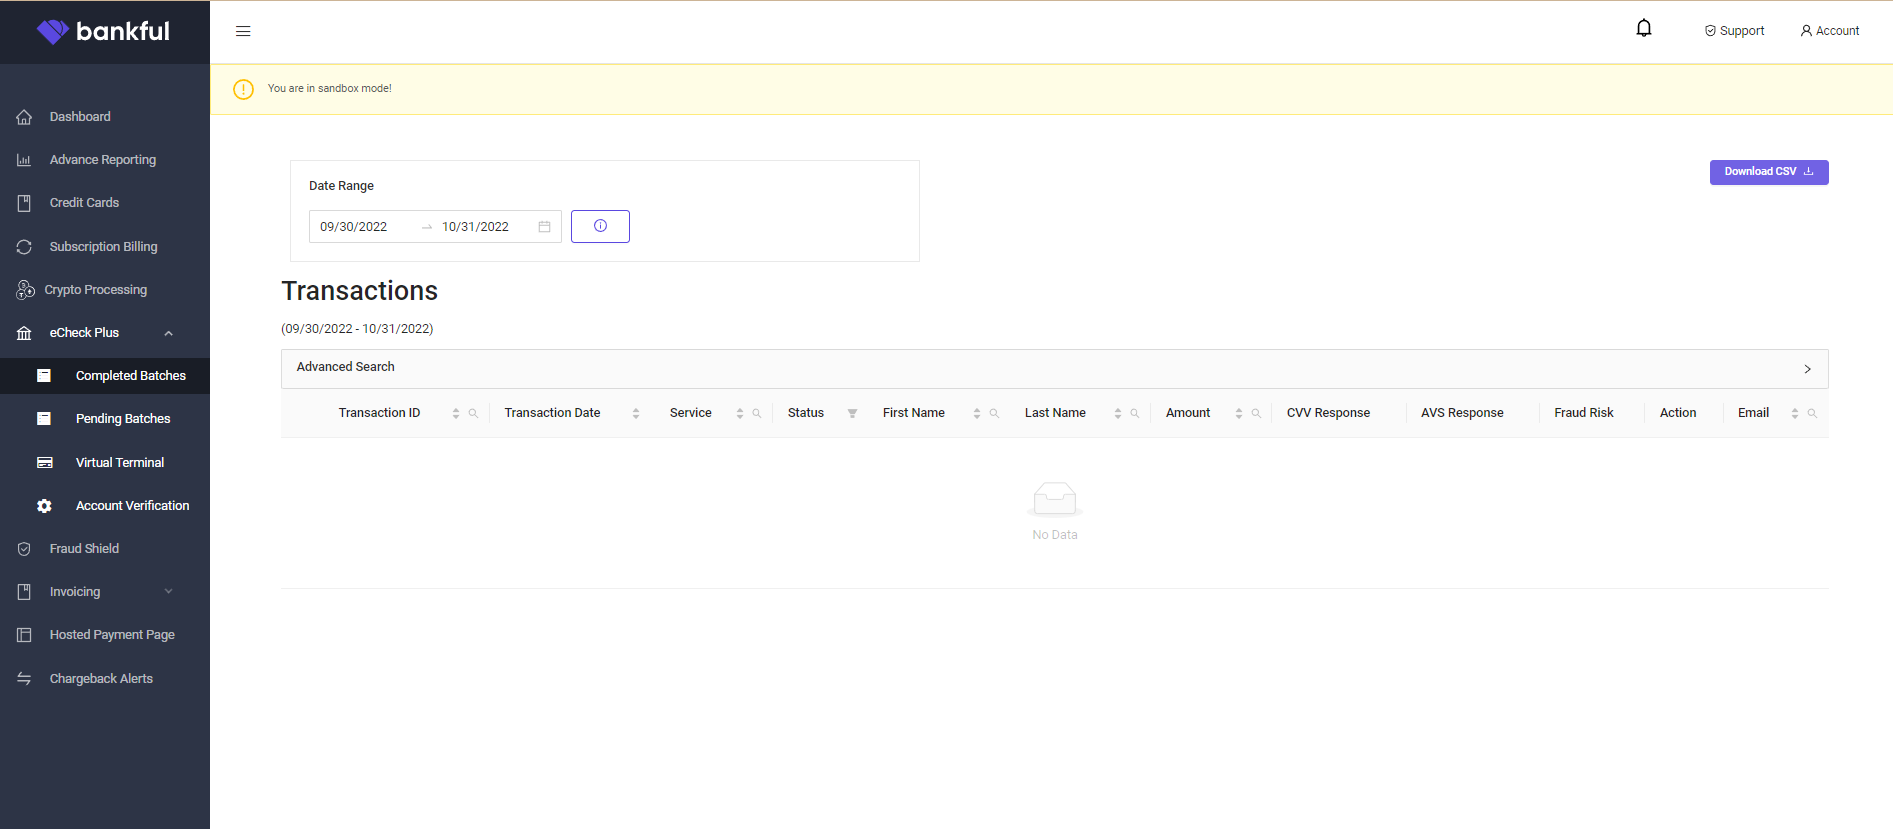
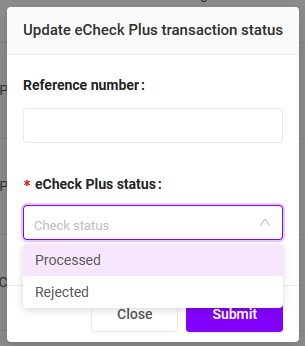
- On the far right of a transaction, you can click on Update Status
- This will allow you to mark each eCheck transaction with your own personal Reference number and with an eCheck Plus status of either Processed or Rejected
- The eCheck Plus status is not automatically set by the system; it is a setting you may utilize for record keeping
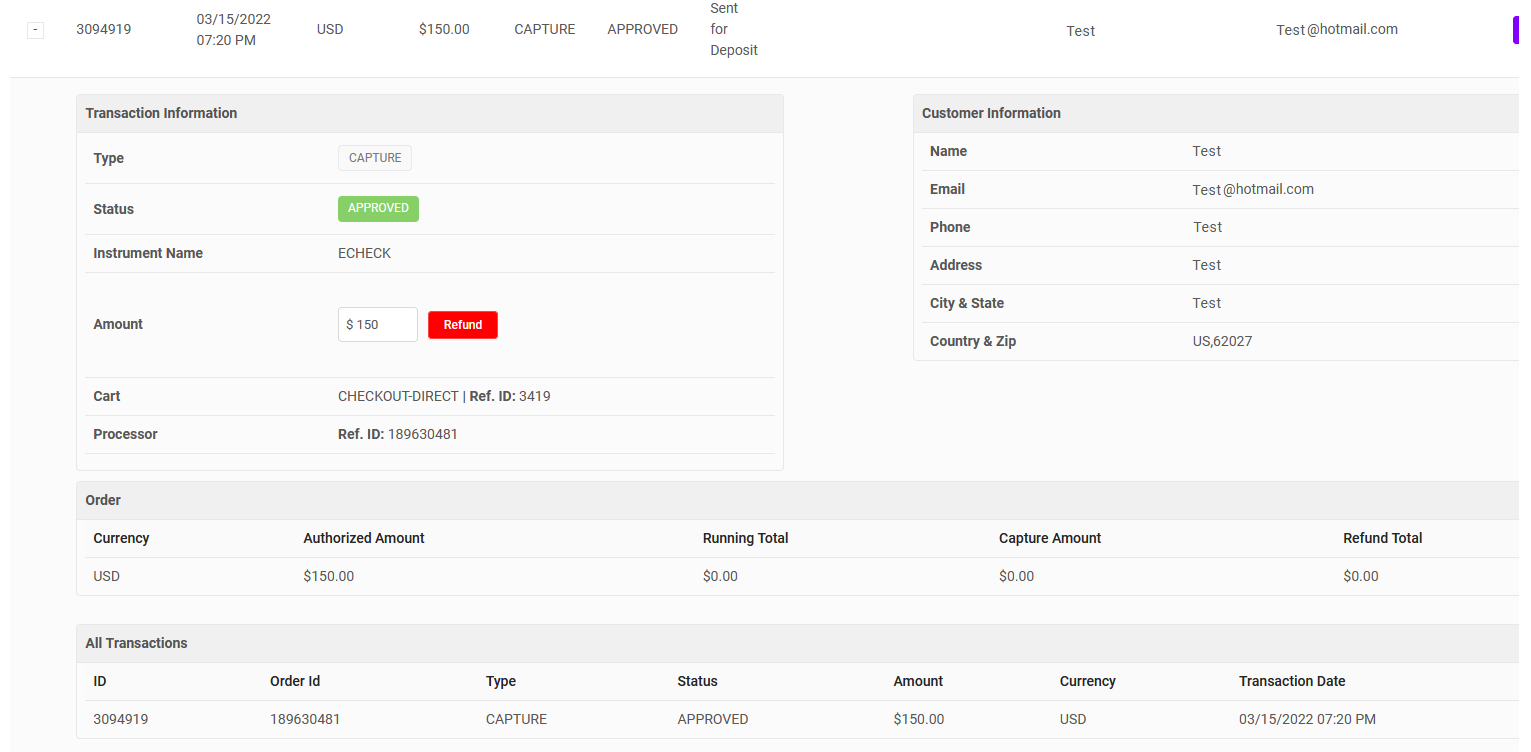
- On the far left of a transaction on the Completed Batches tab, you can click on the + sign to expand the details of a specific transaction
- You will see expanded Customer Information
- You will also see the option to Refund
- Refunding from this section will not result in an actual refund, but will create a refund in your transaction history for your records
- To issue an actual refund, you will have to reach out to the customer and refund them in your preferred method
- Deposit time for eChecks
- National bank account: we deposit next business day. Please allow further time for your banking institution to clear the funds.
- Non-national bank account: we deposit via Priority Mail on the next business day, which can take up to 3 business days to arrive at your bank. Then please allow further time for your banking institution to clear the funds.
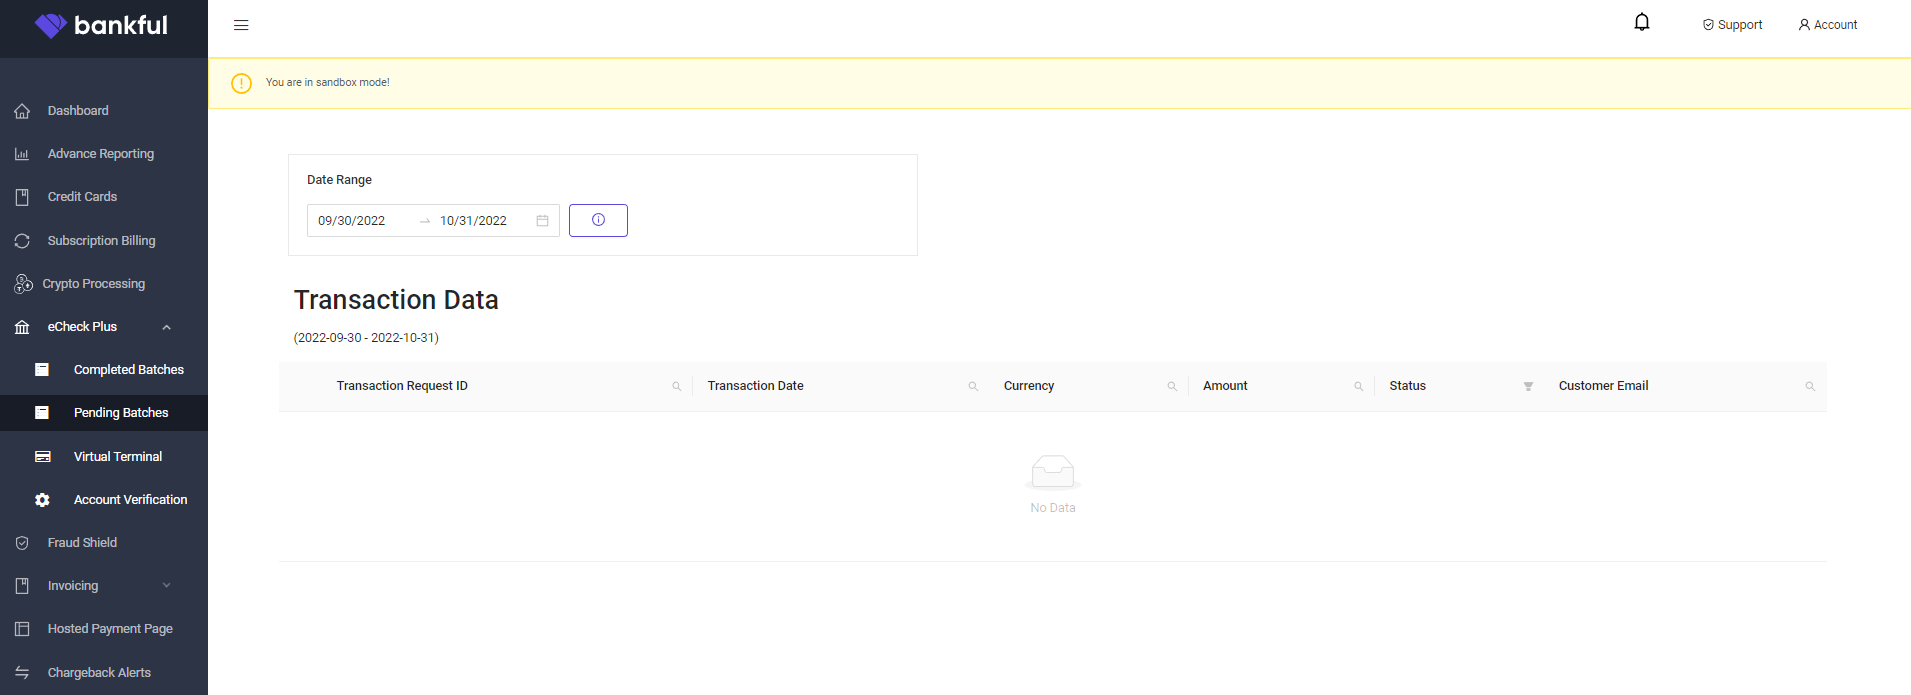
- The Pending Batches tab will show all transactions that are pending further action
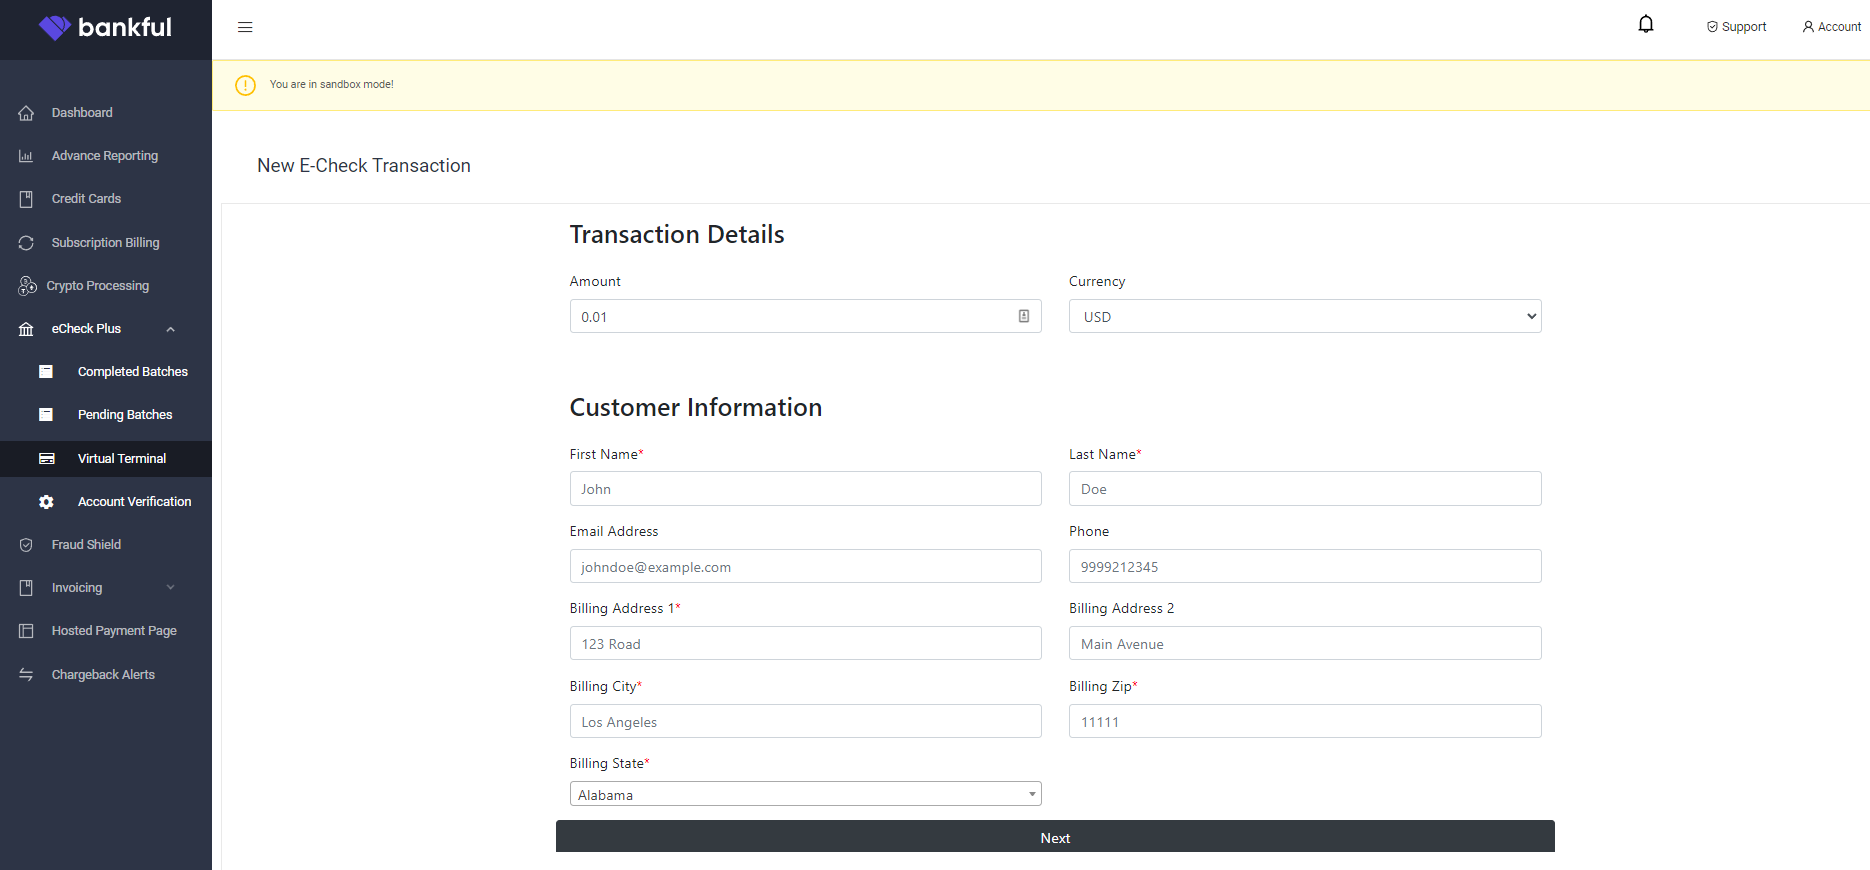
- The Virtual Terminal tab will allow you to enter customer information and run an eCheck transaction from your end
- You will enter the initial Transaction Details and Customer Information
- Click Next
- You will then be taken to your Hosted Payment Page to input the check information
- Then click Pay
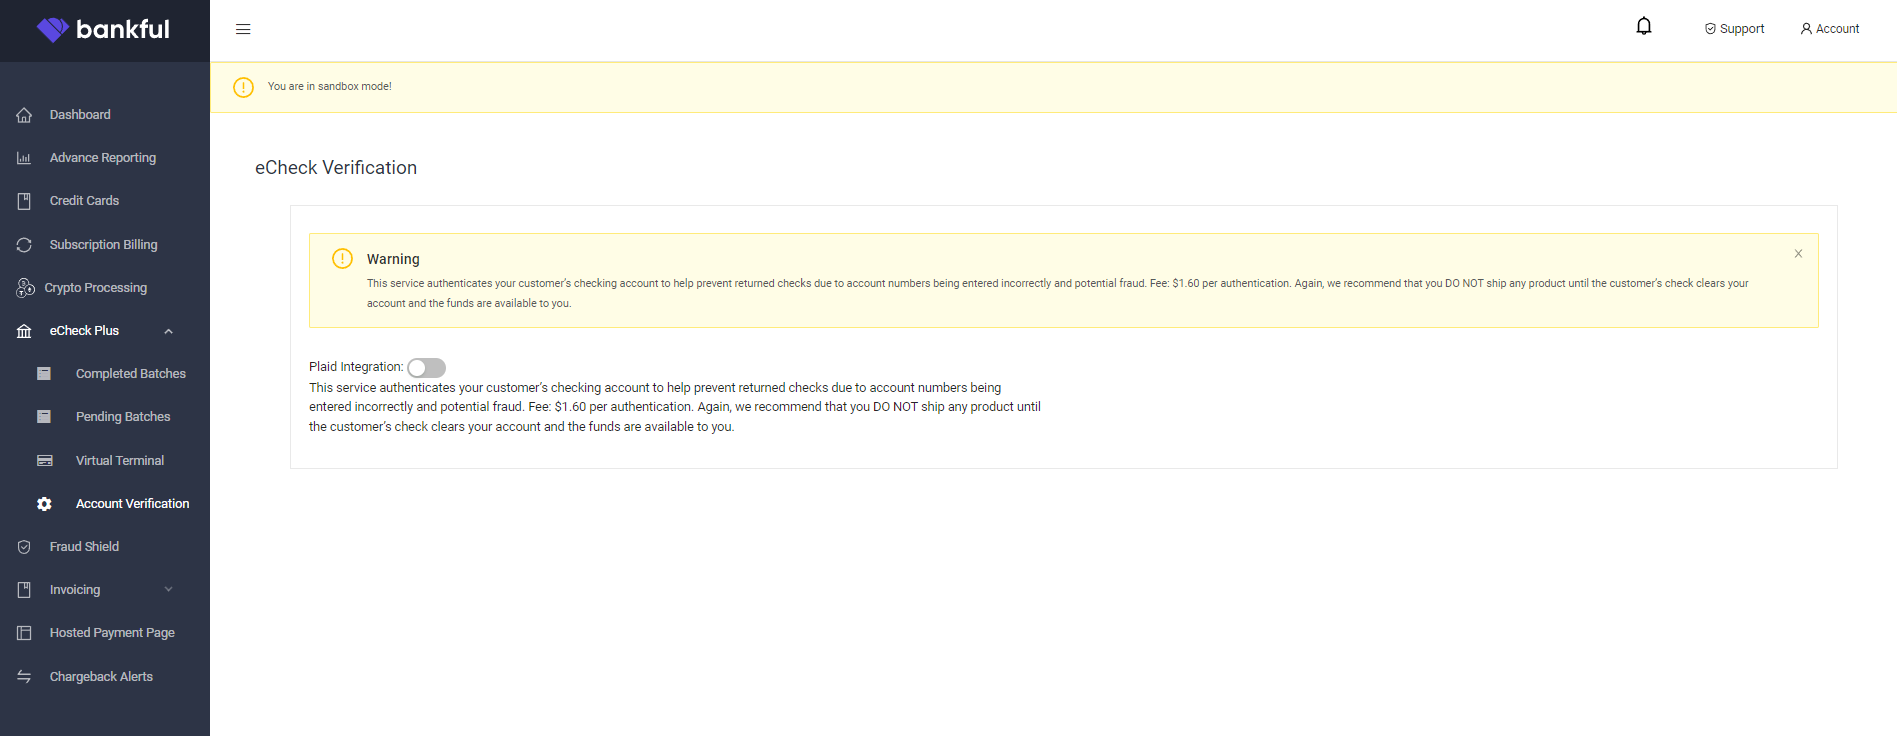
- The Account Verification tab will allow you to activate our Plaid Integration
- This will allow you to verify your customer’s checking account information before it is submitted
Transaction Reconciliation
- When an eCheck Plus transaction is sent to your bank, you will need to find out from the bank whether it is approved or declined
- Once the information is known, Bankful will need to be updated accordingly
- We will start by logging into the Bankful Portal at paybybankful.com
- Navigate to the eCheck Plus section in the sidebar and select “Completed Batches
- From here, you will see all of the transactions that can have their statuses updated with the “Update Status” button
- Once we select “Update Status”, you will be asked for a Reference number and to select the status of “Processed” or “Rejected”
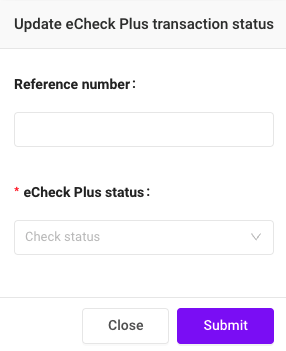
- Once we click “Submit”, the status will be successfully updated
Support
- Please reach out to us at Support@Bankful.com